
Bread Machine Whole Wheat Pizza Dough
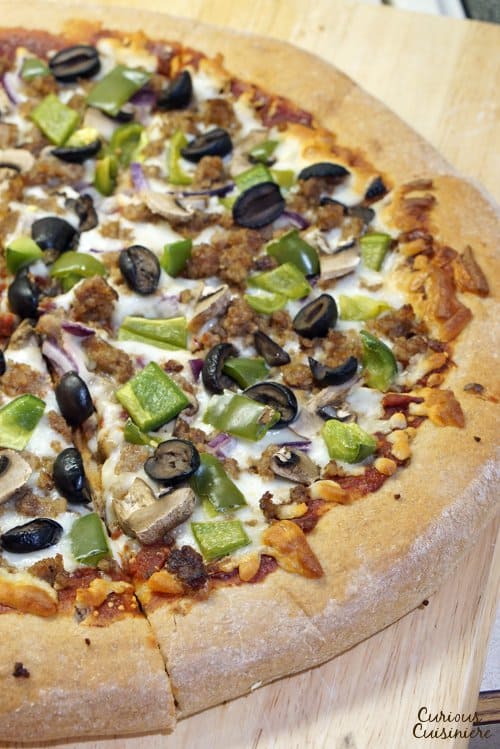
Making pizza is incredibly simple when you make the pizza crust in your bread machine! This Bread Machine Whole Wheat Pizza Dough recipe is so easy, you'll want homemade pizza every night!
 For the Love of the Bread Machine
As much as I love getting my hands into a big hunk of bread dough and finding that zen kneading place until I've worked the flour into a smooth and elastic mass, it takes time. Particularly when you're working with 100% whole wheat.
Sometimes, I just won't make bread because I don't think I have the time.
And then, there are the days that I remember a wonderful wedding gift we received: our bread machine.
Using Your Bread Machine Dough Cycle
The dough cycle on our bread machine is probably one of the best tools we have, that we never think to use.
The machine does all the kneading work for us, AND keeps the dough proofing at just the right temperature. (Which is great, because there hasn't been anywhere in this house that has been over 75 degrees since winter. And, sometimes you can't be checking the oven temperature to be sure it's sticking at a low 80-85.)
If you don't have a bread machine, don't fret. You can still make this pizza crust in your stand mixer, or give those arms a good workout, too. We've included instructions for both methods below.
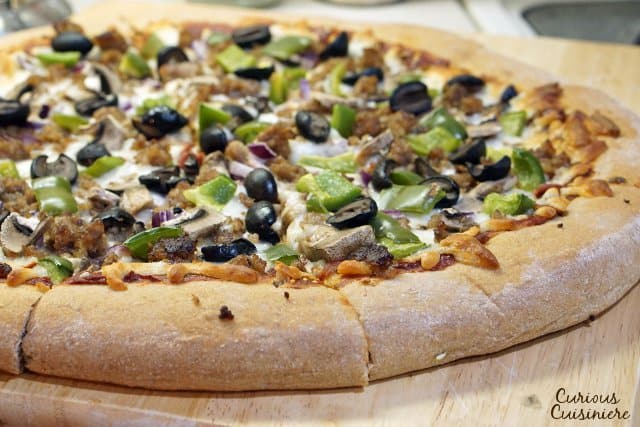
Our Bread Machine Whole Wheat Pizza Dough Recipe
One good thing about a whole wheat crust is the fiber.
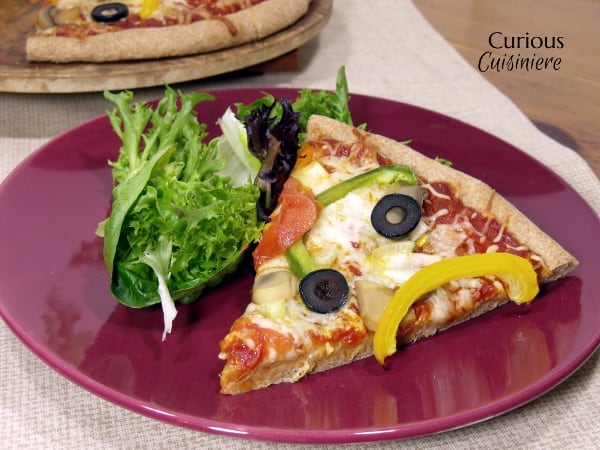
We tend to find ourselves eating fewer slices when the crust is whole wheat. The fiber that the wheat brings to the crust fills you up faster. And, since each slice is heartier, a side salad becomes a really nice and light addition to a slice (or two).
What Is Vital Wheat Gluten?
When making anything 100% whole wheat, we add in some vital wheat gluten protein.
Since the whole wheat grains are so coarse and heavy, adding 1 tablespoon of gluten per cup of flour gives the dough the extra protein it needs to create the elasticity that will result in the super chewy crust that we all love.
Bread Machine Whole Wheat Pizza Dough
Ingredients
For the Whole Wheat Pizza Dough
- 1 c water, warmed to 100F
- 1 tablespoon olive oil
- 1 teaspoon salt
- 1 tablespoon sugar
- 2 ½ c whole wheat flour
- 1 tablespoon vital wheat gluten (optional, but it will make for a chewier and less dense crust)
- 2 ¼ teaspoon active dry yeast (1 packet)
For the Pizza
- Olive oil
- Pizza sauce
- 1 ½ c mozzarella cheese
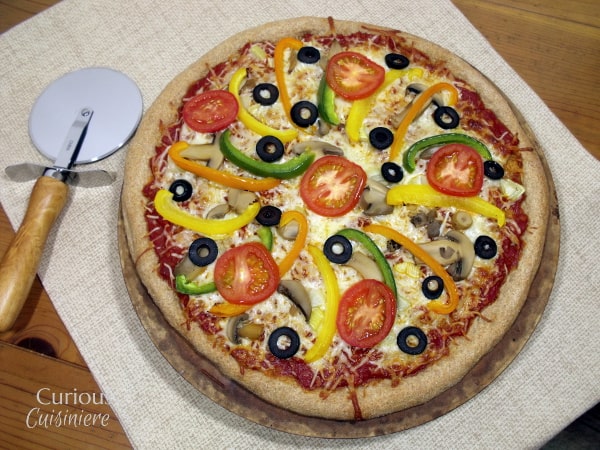
- Toppings: mushrooms, tomatoes, peppers, onions, and black olives, etc
Instructions
Whole Wheat Pizza Dough In A Bread Machine
- Add crust ingredients (in the order listed) to the bread pan of your bread machine. Process according the manufacturer’s instructions for the dough setting. (Don’t be afraid to open the lid to check on it. The dough should come together to a nice, soft and slightly tacky ball after a little knead time. If the dough looks too moist, add more flour a teaspoon at a time. If it looks too dry, add warm water a bit at a time.)
- When the dough is done, remove it from the bread machine.
Whole Wheat Pizza Dough In A Stand Mixer
- Mix all ingredients well with a dough hook for 5-7 minutes, until a nice elastic ball forms. Cover and place in a warm place to rise until doubled (1 hour). Punch the dough down to deflate it and then let it rise, covered, a second time, until you are ready to make your pizza.
Making the Pizza
- Preheat oven to 375F. Generously dust your pizza stone with cornmeal (or grease your pizza pan.
- Roll out into a 14 inch circle. Place dough on your baking stone, prick the dough with a fork so that it doesn’t bubble and brush lightly with olive oil. Cover and let rise 20 min.
- Place in the oven and par-bake for 4- 5 minutes.
- Remove from oven. Add sauce and toppings.
- Bake for 10-15 minutes, until cheese is melted and crust is golden.
Notes
Nutrition
DISCLOSURE: This post contains Amazon affiliate links. These links are provided to help you find some of the more specialty products we mention in the recipe. If you make any purchase after clicking through one of our links, we receive a small commission from Amazon, at no extra cost to you. Thank you for supporting Curious Cuisiniere!
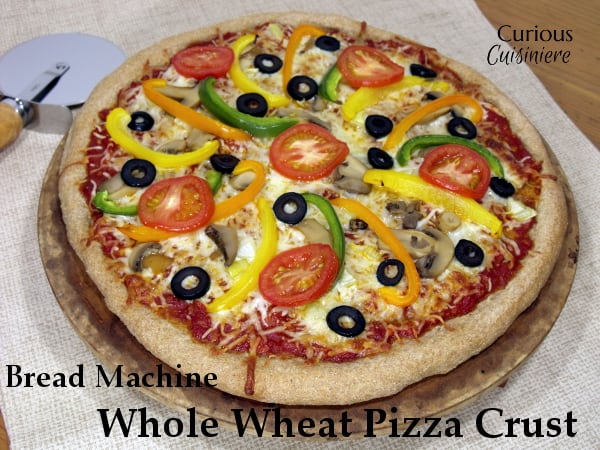
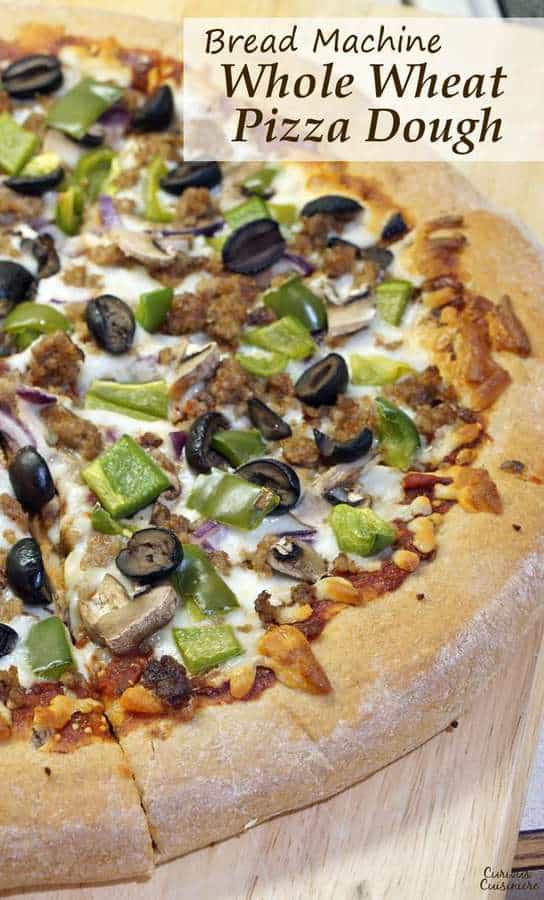
This is one of the recipes from the early days of Curious Cuisiniere. We've updated our pictures since we first made it, but we've left an original here, in case you've found us in the past and are looking for that old, familiar image.

Sarah founded Curious in 2010 as a way to save her recipe creations and share culinary experiences. Her love for cultural cuisines was instilled early by her French Canadian Grandmother. Her experience in the kitchen and in recipe development comes from over 10 years working in professional kitchens. She has traveled extensively and enjoys bringing the flavors of her travels back to create easy-to-make recipes.



I made this dough and it exceeded my expectation!!! Thanks this was easy to follow and yes indeed the bread machine made it perfect!
So glad you enjoyed the pizza dough Gina!
Your comments say to add 1 T gluten per one cup of flour. Yet your recipe calls for 1 T gluten along with 2.5 cups of flour. Which combination works best for you?
Hi Lisa. We do typically use 1 Tbsp per cup, but we find that for pizza dough we can get by with less. You can always play around with larger amounts in the recipe to see what texture you prefer.
This dough is excellent! Healthy and tasty. Highly recommend.
So glad you enjoyed it Colin!
I was wondering, can this recipe be used with Chakki Atta 100% whole wheat flour? I have had a very difficult time figuring out how to use this flour appropriately!
Thanks!
Hi Jen. I am not familiar with working with that type of flour, but from a quick look it seems like a high gluten whole wheat flour, which would be perfect for making artisan breads or pizza dough. (Anything you want to have a nice, chewy texture.) So yes, that flour should work well for this dough. I would watch your dough as it mixes in the machine and add more water or flour as needed to get a good consistency in the dough, as different flours need different amounts of moisture. Enjoy!
Lol Sarah, you have the patience of a saint! I read the back and forth between yourself and James, and I felt my blood pressure starting to rise (much like his dough would if he followed instructions better.) There's nothing quite so annoying as someone asking a question, getting a thorough, thought out and comprehensive answer, and then immediately dismissing that answer, and proceeding to mansplain why your answer is "wrong" (apparently without actually knowing much about the subject matter, hence having to ask the question in the first place.)
Since James was too obtuse to say it: thanks for providing that comprehensive, logical and well researched answer. You are of course 100% correct. Just goes to show you that when you forget you've got two ears and only one mouth, you may be destined to a well-earned fate of soggy pizza dough. Bless your patience!
Thank you! 🙂
Thank you so much for the recipe! I substituted same amount of applesauce for oil and 2 tablespoons of date syrup for sugar. I used Panasonic bread maker and the dough was a little dry so I added extra 2 tablespoons of water. The end result was fantastic! Thank you 🙂
Glad you enjoyed it! Thanks for sharing what you did!
Hey there! I'm planning on making dough tonight and I have three questions for you:
(1) In your recipe for the stand mixer dough, you say that after rising the first time, you should remove, "knock back", and let it rise a second time. What does "knock back" mean? Am I supposed to knead it, and if so, for how long before placing it for a second rise? I've never heard that term before.
(2) Is there anything other than vital gluten you can add to make the dough chewier or to get a similar effect? Any mixture of things I may already have, or nah? (Like for example could I use some all purpose dough mixed in with the whole wheat, or cornmeal or baking soda or some combination of stuff like that? (I'm new to baking so forgive me if that question seems basic of me).
(3) I've heard some people use xanthan gum; does the vital gluten do something different than xanthan gum in a whole wheat dough recipe? Could I use both together, and if I did, would the measurement of vital gluten be different?
Thanks!
Hi Angels. Thanks for your questions. (1) "Knock back" is a fairly common bread baking term that simply means to deflate the risen dough by punching it down. It is often done to allow the bread to rise a second time. I'll update the instructions to be more clear. Thank you. (2) Yes, swapping 1/2 - 1 cup (or more) of the whole wheat flour for all purpose flour would result in a chewier crust. The goal of this recipe was a 100% whole wheat crust, which is why we use the gluten. (3) Xanthan gum is typically used as a binder (sticks things together) in gluten free baking. It may work in this case to add some chew, but I'm not familiar enough with working with it to be able to recommend it. We hope you enjoy the dough! Let us know how it turns out for you!
Thank you for this recipe! It is the first time I have made whole wheat dough and have had it turn out! My family loved it. I did add 1 tbsp of all purpose flour while on knead cycle and a bit more on the board when kneading and stretching which helped with the slight stickiness right away. Is the nutrition information listed per serving (4)? Thank you 🙂
So glad you enjoyed the pizza dough Kristen. Yes, the nutrition listed is per the 4 servings.
I use a Ninja food processor with a 'dough blade' which works very well for white pizza dough and buckwheat pasta. Trying your recipe the dough never formed and I couldn't take it out the processor as it was too wet and sticky. I needed to add about double the amount of flour and of everything else while keeping the same amount of water in order to kind of be able to take the 'paste" out and leave quite a bit behind as it was still rather sticky. I worked it by hand on the counter by adding yet more flour and although it was more wet than what a white pizza dough is usually like, I was able to finally make a dough ball and put it to a rest.
All in all I wonder if the proportions are wrong when you work with a processor not a bread machine (but I don't see why), or whether I'm too inexperienced with wholemeal flour and not recognising when I should be able to shape it although it looks very wet/sticky and doesn't come out of the processor at all. Or something else that went wrong perhaps? Looking for insights.
Hi James. While I've never tried to make bread in a Ninja blender using the dough blade, I can think of a number of reasons why this dough may not work in that situation. First, the dough blade of the Ninja is really not idea for making breads (despite their name), particularly breads that you want to be soft and chewy. The reason being that the purpose of kneading bread dough is to develop the gluten proteins to create longer, stretchy protein chains which create the dough ball and that nice chew that some breads have. (And as the protein strands develop, more moisture is absorbed by the flour to create that stretch.) The blades don't knead the dough, rather they cut through it, breaking up the protein chains, rather than helping to create longer ones. White flour has a lot of gluten to start with, which is why your white pizza dough may work in the machine. However, the bran in the whole grain flours inhibits the protein structure from forming, which is why whole wheat bread items are often tougher and less chewy. So, when working with whole wheat flour, you're already at a protein disadvantage, and by using the blades, you really don't give the dough much of a chance to develop those protein strands that are needed to form the ball of dough. (From what I understand about pasta making, pasta doesn't require as much protein development, which again, would be why your Ninja blades would work in that case.) Good news is, this recipe works just as well by hand, so we'd suggest giving it a try that way next time.
To be honest I don't think the blade has anything to do with the result because I am also adding pure gluten flour to the recipe and I can tell you that after the first spin (which is usually enough for white dough and pasta) the whole wheat dough was v-e-r-y chewy, stretchy and sticky: completely different from a whole wheat dough where the gluten didn't have a chance to develop properly. So while the gluten was definitely binding well, the whole dough was impossible to handle because it was too sticky as a result of being too wet. I took some of it out first and tried to continue kneading by hand, but it was just impossible. It was only after adding something like 2 more cups of flour that I could finally do something with it, but by then my machine and myself were exhausted, and of course I lost the balance between flour/water/yeast/gluten so it was difficult to get to a workable result, let alone an airy, bouncy, chewy pizza dough. Maybe we'll never figure what happened, but really I don't think the dough blade is the culprit because the gluten did develop perfectly, and even if it hadn't, it wouldn't create a dough too wet to knead.
Like I said, having never used a Ninja to make bread dough, I can only speculate where things went wrong. (And, I do have 5 years of professional, artisan bread making experience.) We make this recipe quite often by hand and in a bread machine, so I can assure you the quantities are correct. You may just have to make some adjustments to suit your Ninja or find a recipe that better fits that equipment. Best of luck!
I tried again by hand and the result is the same. All in all I waisted a lot of flour. I found another recipe with a significantly lower amount of water and that one worked.
We're glad you found a recipe that works well for you and your Ninja! As noted in this recipe's title, this recipe is formulated specifically for the bread machine and (as noted in the instructions) can also be done in a stand mixer. These two machines can get a bit of extra water into whole wheat flour more easily, yielding a lighter end result. Someone who is experienced working with bread and doesn't mind working through a sticky dough could work this recipe by hand. Wheat flour takes more time to absorb liquid than white flour does, so that may be what you are running into.
Do you also preheat the pizza stone?
Hi Brian, Since we like to let our crust do a short rise on the stone, we typically don't preheat it. This saves us from having to transfer a partially risen crust to a hot stone. If you like the results of using a hot pizza stone (a slightly crisper bottom edge to the crust) go ahead and preheat your stone. Just make sure that the surface you let your crust rise on is well floured, so that you can easily transfer your risen crust to the hot stone immediately before baking. Enjoy!
If you put a cool/cold stone in a hot oven, it WILL crack.
Good point. If your stone is cool or cold, then yes, it will crack. When we proof our dough on the stone it is in a warm place, so the stone is not cool when it goes into the oven.
I loved this dough. The pizza tasted so much better than the bread machine recipe I make with 100% bread flour. I didn't have a pizza stone, just a good pizza pan and it came out great. I did bake it for 20 minutes instead of 15 as I like my pizza well done.
We're so glad you liked the dough Susan! Thanks for sharing how it worked for you!
Second time making your pizza dough and it makes a delicious pizza. I am following South Beach Diet and it fits the bill.
Wonderful! Thanks for stopping back by to let us know how it turned out for you Kathy!
just got a bread machine! Next time I gotta try it using it
Your pizza looks delicious. Love the idea of using the bread machine. I wish I would have kept mine.
Hello!!! I'm Lori from Lori's Culinary Creations and we're in the SITS girls tribe!! Lovin all these links you have posted here! Looking forward to getting to know you and your blog better. Following you on all social media 🙂
Now that's one good looking pizza (you could call it a Rainbow Pizza for the toppings 🙂