Baked Piroshki (Russian Stuffed Rolls)
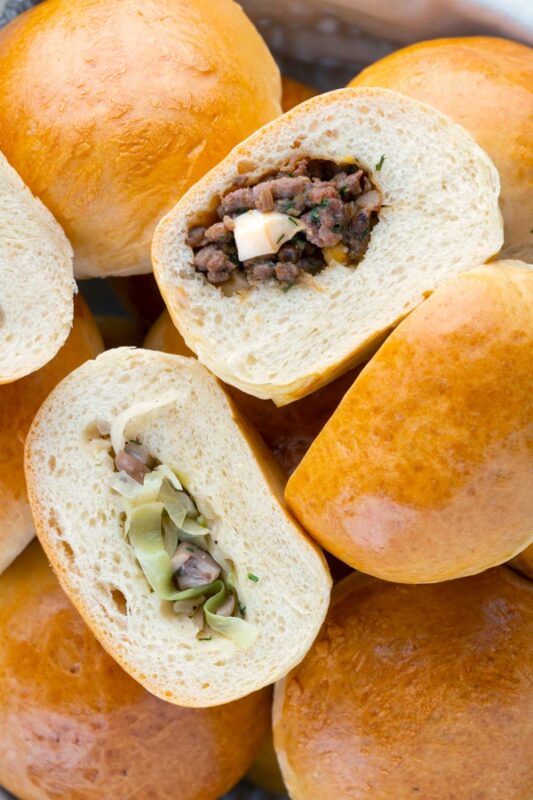
Russian Stuffed Rolls: Piroshki
Piroshki (pronounced PIR-oh-sch-KI) means 'little pirog' or 'little pie'.
A Russian pirog (pie) can have a sweet or savory fillings. And these 'little pirog' are small hand-pies that can be stuffed with sweet or savory filling as well.
(Think about them like a Mexican empanadas with a more bread-y outside, like German bierocks.)
Similar to Mexican empanadas, piroshki can be fried or baked. And while it is slightly more traditional to fry the stuffed rolls, baking makes them just as golden and tasty.
We can't wait to make another batch of these once the weather gets warmer because they would be a perfect, no mess, meal for a picnic!
Making Piroshki Dough
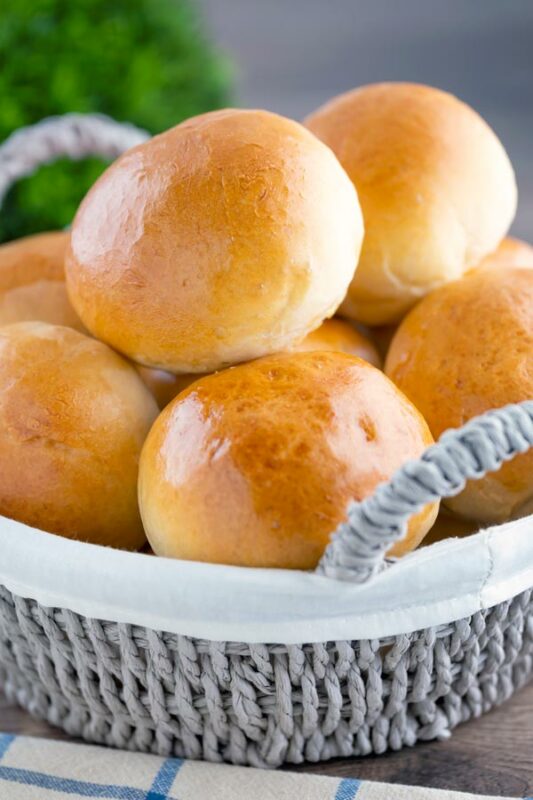
What really makes Russian piroshki different from other stuffed rolls is the dough.
Piroshki use an incredibly soft, eggy dough, which creates a soft and fluffy bread casing for your chosen filling.
Since this dough is so soft, we recommend making it in your stand mixer or bread machine set to the dough setting.
If you are very familiar with making bread by hand, feel free to get your hands into this dough, just know that it should be much stickier than a standard yeast dough. (It will be more like the dough for a challah or soft sourdough.)
Once the soft dough comes together, it is smooth and supple, and quite easy to work with.
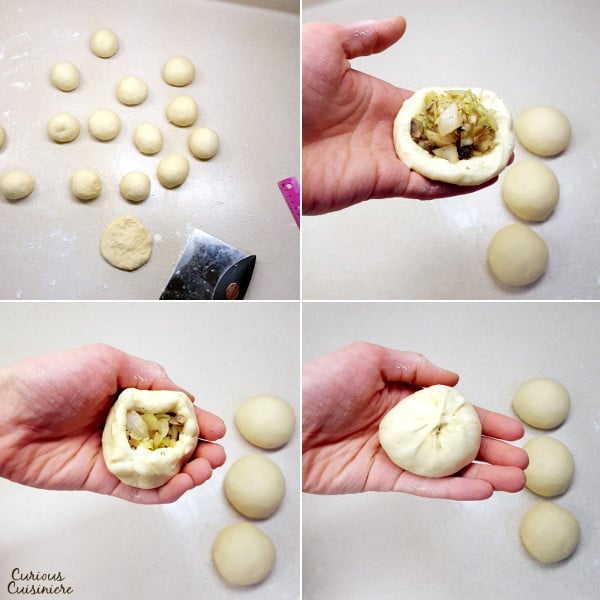
To form your piroshki, roll a ball of dough. Flatten the ball slightly in the palm of your hand (the dough shouldn't stick to your fingers). Add some filling, then pull the dough up around the filling and pinch it tightly closed!
Pinching the dough tightly is important to be sure that the filling stays sealed inside the roll during baking.
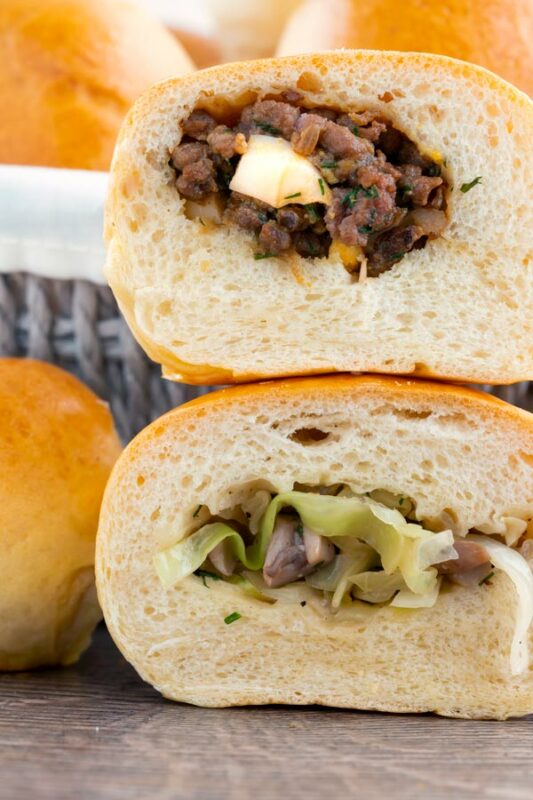
Many Piroshki Fillings: Which will you choose?
Piroshki can be filled with a variety of sweet or savory fillings.
Mashed potatoes, mushrooms, cabbage, and ground beef are very common savory fillings. Stewed fruit or jam are common sweet filling.
Our recipe below includes two, traditional, savory fillings. But, once you get the hang of making piroshki, have fun and get creative with your own filling ideas!
Our Piroshki Recipe: A Great Make-Ahead Meal
One great thing about these rolls is that you can make a big batch and (before you bake them) freeze them for later.
Just pull the shaped, filled rolls out of the freezer an hour or two before you want to bake them to let the rolls thaw and rise.
Brush with some egg wash and bake them the same as you would if they were fresh.
How's that for a super simple freezer meal?

Baked Piroshki (Russian Stuffed Rolls)
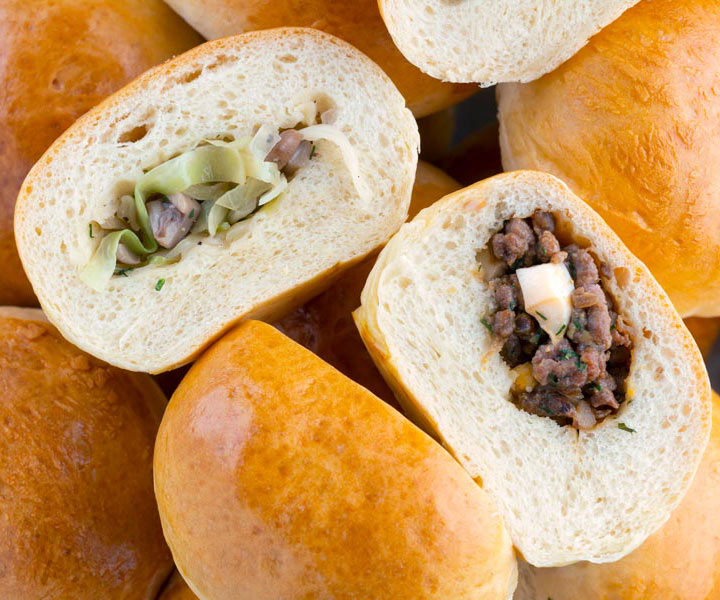
Soft and fluffy dinner rolls stuffed with a savory filling, Baked Russian Piroshki are the perfect portable meal!
Ingredients
For the Dough
- 1 c milk, warmed to 90F
- 1 tablespoon sugar
- 1 ½ teaspoon active dry yeast
- 3 - 3 ¼ c unbleached all purpose flour
- 1 egg,, room temperature
- 1 tablespoon salted butter, softened
- ½ teaspoon salt
- 1 egg beaten with 1 tablespoon water, (for the egg wash)
Beef Filling
- ½ lb ground beef, (90% lean)
- ½ onion, minced
- 1 tablespoon dill
- ½ teaspoon salt
- Pinch ground black pepper
- 1 hard boiled egg, chopped (optional)
For the Cabbage Filling
- 1 teaspoon salted butter
- ½ onion, diced
- 1 c button mushrooms, chopped
- 3 c cabbage, shredded
- ¾ teaspoon salt
- ½ teaspoon dill
- ¼ teaspoon ground black pepper
Instructions
For the Dough*
- In a bread machine: place ingredients in the machine following the directions for the dough setting. Dough should be soft, sticking slightly to the pan as it kneads. Add a little water or flour to adjust dough consistency during the first knead as necessary.
- In a stand mixer: In the bowl of your stand mixer fitted with a dough hook, add warm milk and sugar. Stir until the sugar has dissolved. Sprinkle the yeast over top of the milk. Let stand for 5-7 minutes until the yeast begins to foam. Add 2 c of flour, the egg, softened butter, and salt. Mix everything together. Continue adding the last cup of flour, until the dough starts to come together. Knead the dough with the mixer on low speed for 3-5 minutes. The finished dough should be soft and almost sticky, but it should pull away from the sides of the bowl. (If it is too sticky, add a little more flour and continue to knead.) Remove the bowl from the mixer and cover it with a damp tea towel. Let it rise in a warm, draft-free place for 1 hour, until well doubled.
- While the dough is rising, make the fillings.
For the Cabbage Filling
- Heat butter in a large, non-stick sauté pan. Add onions and mushrooms and sauté for 3-5 minutes, until soft. Add cabbage, salt, dill, and pepper. Continue to saute until the cabbage has softened, 5-7 minutes. Remove the mixture from the heat and transfer it to a medium bowl. Let the filling cool to room temperature before filling the rolls.
For the Beef Filling
- In a large, non-stick sauté pan, brown the beef and onions together with the dill, salt and pepper, 3-5 minutes. Once the beef is cooked through, remove the mixture from the heat and transfer it to a medium bowl. Mix in the chopped hard boiled eggs, if using. Let the filling cool to room temperature before filling the rolls.
Putting It All Together
- Once risen, remove the dough from the bread machine or bowl and place it on a lightly floured surface. Roll it into a log and cut the log into 16 roughly even pieces. Roll each piece into a ball and then press it into a 3-4” circle.
- Fill the center of each circle of dough with a heaping tablespoon of filling. Gently pull the edges of the circle up and around the filling, pinching the edges to seal the filling inside. (Be sure to pinch the seam well, or else the filling will burst out during baking.
- Place filled piroshki, seam-side down on a greased baking sheet.** Repeat with the remaining dough, spacing the rolls 2 inches apart. Brush the tops with the beaten egg. Set them aside to rise until puffy and nearly doubled (30 minutes).
- When the rolls are nearly finished proofing, preheat the oven to 375F.
- Bake at 375F for 20-23 minutes, or until the tops are golden brown.
Notes
*To Make Dough By Hand: This dough can also be made by hand, but it is quite a sticky dough, so we recommend only working with it by hand if you are used to working with bread dough, and don’t mind a slightly sticky dough.
**Freeze for Later: Place the shaped, filled rolls in a single layer on a baking sheet and freeze overnight. Once they are solid, the rolls can be placed in an airtight bag and stored in the freezer for 1-2 months.
To cook from frozen, remove the rolls from the freezer and place on a greased baking sheet. Brush the frozen rolls with egg wash and let them thaw and rise on the baking sheet for 1 hour before baking for 20-23 minutes in a preheated, 375F oven.
Nutrition Information:
Yield:
8Serving Size:
2 piroshkiAmount Per Serving: Calories: 724
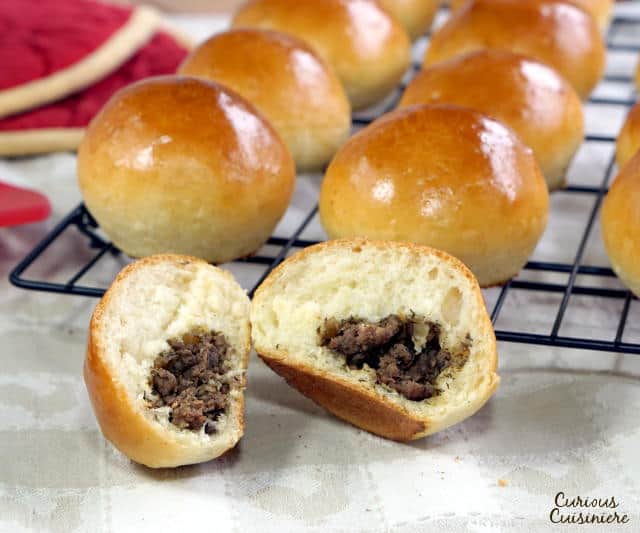
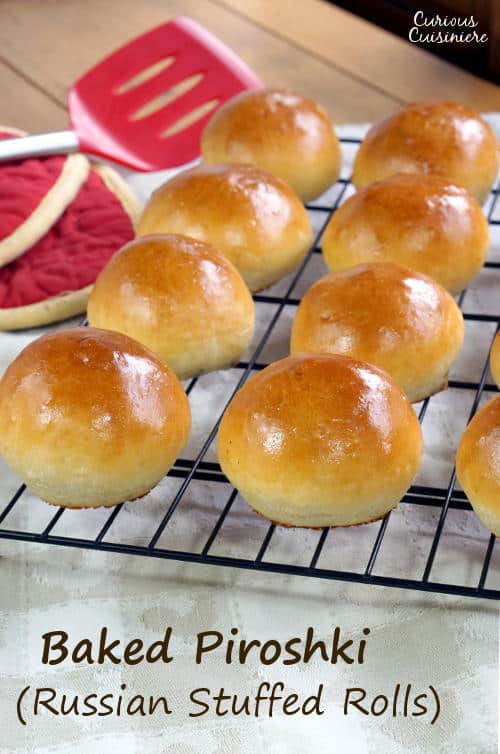
This is one of the recipes from the early days of Curious Cuisiniere. We've updated our pictures since we first shared it, but we've left some originals here, in case you've found us in the past and are looking for that old, familiar image.

Sarah founded Curious in 2010 as a way to save her recipe creations and share culinary experiences. Her love for cultural cuisines was instilled early by her French Canadian Grandmother. Her experience in the kitchen and in recipe development comes from over 10 years working in professional kitchens. She has traveled extensively and enjoys bringing the flavors of her travels back to create easy-to-make recipes.
Absolutely love your Piroski recipe, my grandmother used to make these, God rest her soul. I make the dough in my bread maker, and folks the filling is limited to your imagination. I used the same dough to make Pirogi and it was excellent. ,
So glad you enjoyed it! There really are unlimited filling possibilities!
Your recipe is really good and easy to follow. We used the dough recipe and made a corned beef and
Russian dressing with sauerkraut filling. Perfect way to celebrate St Patricks Day.
Thank you for sharing your recipes.
So glad you enjoyed these! Your St. Patrick's Day version sounds so tasty! We may have to try that next year!
Hi. I had a Russian bun at a bakery at the pier in Seattle. It was rolled like a cinnamon bun and filled with potato mushtoom green onion and cheese. Do you think i could use your dough recipe for this?
Lynda
Hi Lynda, I would think this dough would work well for that type of bun. I hope you can recreate them; they sound tasty!
Hi Sarah! I just made beef and rice stuffed piroshkis. They came out good, but a little bland. I didn’t use your recipe by the way. ?
Anyway, any suggestions on a good sauce to dip them in? I saw the Russian garlic dipping sauce and also a “thousand island” type sauce. Which would be best for meat and rice filled meat pies?
Hi Sue. Not knowing exactly how they are spiced, it's hard to pick the best sauce for you. However, either of your choices sounds like they would work well. We also have a recipe for a Russian dressing that could also be tasty.
My Mother-in-law was from Russia and made piroshki often. She used French’s yellow mustard mixed with vinegar as a dipping sauce. Yum!
That sounds tasty!
Thanks for sharing! I have been searching for a good piroshki recipe for a few years now. Yours is the first that looked like it was worth the effort to try. I have made these twice in the last week. They are a hit with the entire family, which is quite rare. I was impressed. They taste just like what I remember piroshki tasting like in Russia. They're better than the ones that are made at our local Russian deli! I expected to have to put in more effort for something so delicious.
Thanks so much Kathryn! We're glad you enjoy these piroshki! They are definitely one of our favorite on-the-go or picnic meals!
Found your site tonight and I am thrilled at all the delicious recipes. I absolutely love making any kind of baked goods and especially BREADS!! Thanks for sharing.
Thanks Bea! Glad you found us!
What a great idea for finger food!
Thanks Anne!
Definitely something I would make (and eat!!!) Thanks for sharing 🙂
Thanks Maria!
I love piroshki! Mom grew up with a heavily Eastern European neighborhood, so, we've been making piroshki as well as cabbage rolls my whole life. LOVE them.
Thanks for sharing! It's so fun the way foods connect people and bring up memories!
Love the portability of these piroshki!
They are the perfect meal to take on the go!
I've always wanted to make these! Looking forward to trying out your recipe. Pinned and sharing!
Thanks! We hope you enjoy them!
I haven't had these since I was a little girl. My greaat aunt used to make them. I must try making them myself!
What a great memory! Thanks for sharing!
Comfort food at it's finest. I would love to tackle these as I am trying to expand on my baking skills. Love your blog!
Thanks Tracy! We hope you enjoy these. They are so fun to make!
Sarah, I love the filling in these--so much flavor!!
Thanks Kristen! We love that you can change up the fillings too!
This is my kind of bite! I love bread, I love meat...and I love how simple these would be to eat with my hands! YUM!
Thanks Nichole! They are such a great way to have your meal in your hand!