
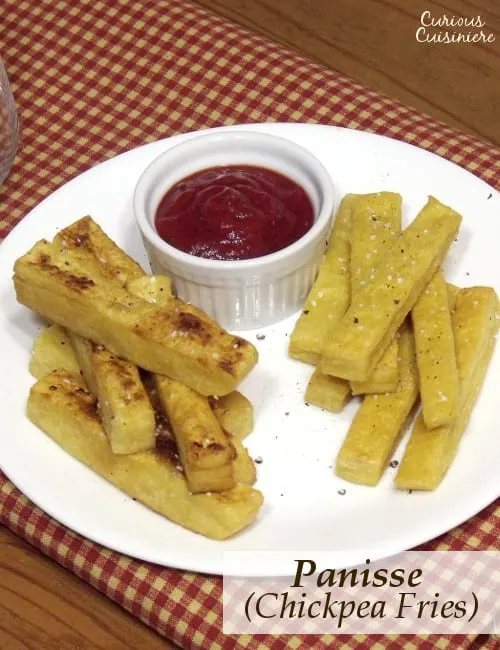
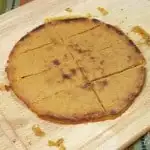
Delicately crisp with a smooth interior, Panisse, or Chickpea Fries, might become your new favorite snack!
 A French Fry? No! It’s Panisse!
 A French Fry? No! It’s Panisse!
If you saw a plate of panisse, you might mistake them for a plate of French fries.
A plate of way-too-perfectly-shaped French fries. But, a plate of French fries none-the less.
Once you bite into it though, the creamy interior will clue you in that this isn’t an ordinary French fry.

Use up the rest of your chickpea flour. Make some socca!
It’s panisse!
These “fries” hail from Liguria in north-western Italy, but they are widely popular in the south of France from Nice to Marseille.
A New Way To Use Chickpea Flour
While I never experienced these chickpea fries when I was in the south of France, I was introduced to the wonder that is the chickpea flatbread, called socca.
It’s an addicting kind of thing, and ever since I introduced Tim to socca, he has been on the search for other chickpea flour recipes.
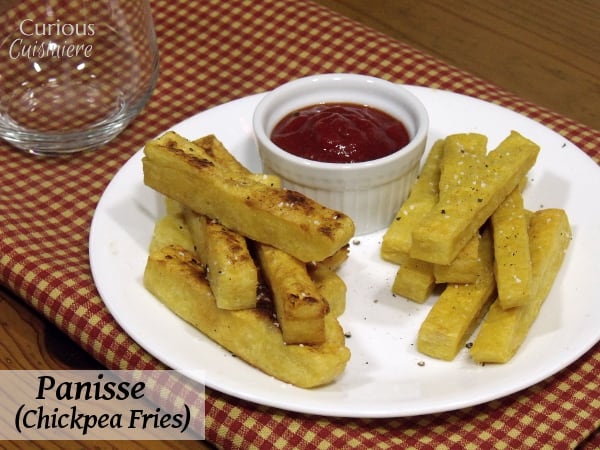
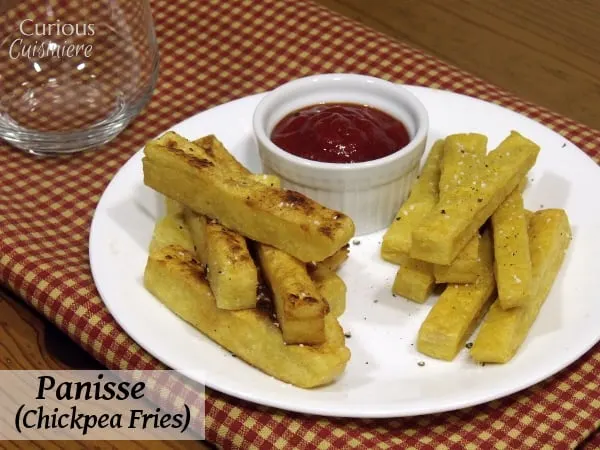
Panisse are a fun snack, and go perfectly with a chilled glass of white wine. But, they can also be eaten as a side to a main meat. There is something about the sprinkling of coarse salt and cracked pepper that makes the nutty flavor of the chickpeas come alive.
 Making Chickpea Fries
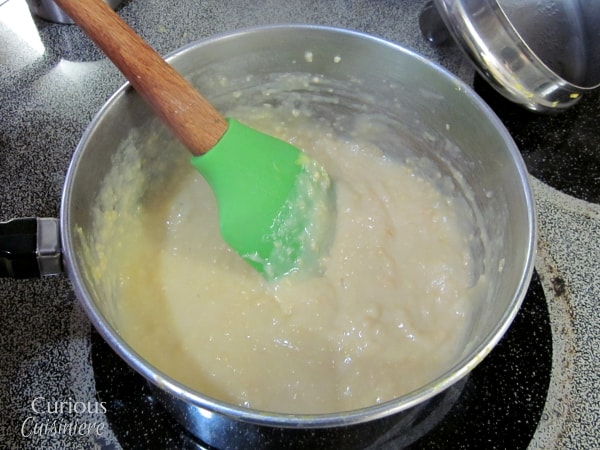
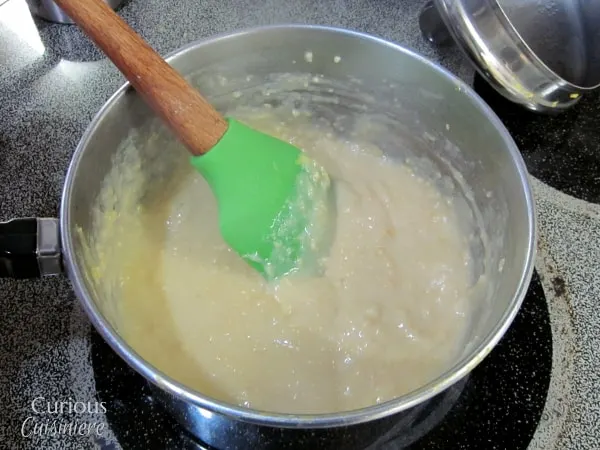
Making the batter for these chickpea fries is so simple.
Like making polenta or cream of wheat, water is boiled and then the flour is stirred in until it turns thick and glossy. (The batter will be lumpy. Let your smooth batter OCD go, and just go with it. Everything will be ok in the end.)
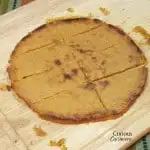
While still hot, the batter is poured into a greased pan and let cool. You could easily prep a pan of these ahead of time and keep them refrigerated until you are ready to bake or fry them. (Even up to a day or two.)

 Cooking Your Chickpea Fries
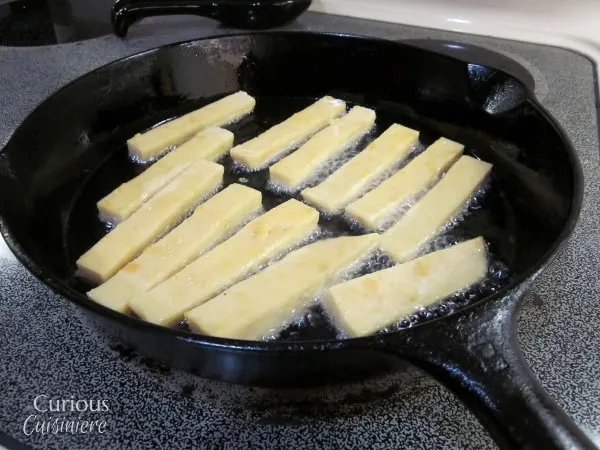
Typically panisse are deep fried, which normally would send us running. But, for authenticity’s sake we gave in and pan fried them in an inch of oil.
Of course, we decided to try a batch baked as well, just to figure out if the effort of frying really was worth it.
The verdict?
The fried version had a delicate, crispy exterior and a soft and creamy interior. These panisses puffed a bit in the oil, creating a lighter consistency. These guys were so many textural elements of deliciousness all rolled into one finger-long stick.
It DEFINITELY made frying worth it.
Baked Chickpea Fries
So, what about the baked version?
The baked chickpea fries were still good. They didn’t have quite the delicate crust, although they did have a bit of crispness to them. The interiors were still creamy, but a little more dense, since they didn’t puff like the fried ones did.
Honestly, if we hadn’t tasted their fried brothers, we would have been quite happy munching on the healthier, baked version.
You’ll notice in the picture below, the pan-fried ones are on the left, slightly larger because they puffed and more golden. The oven-baked ones on the right still hold their shape and consistency well.

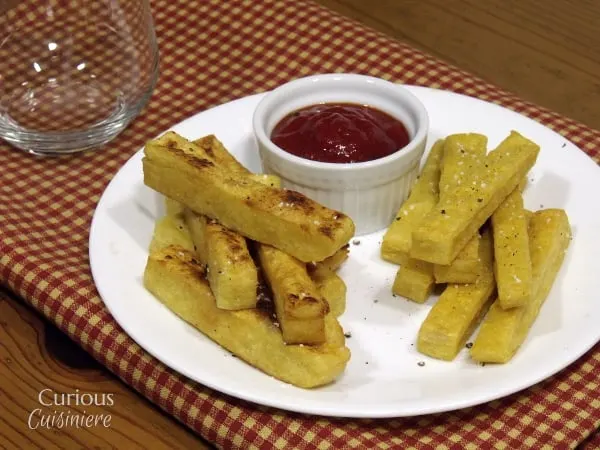
Overall, both make for a quite tasty alternative to French fries, with a bit more flavor and texture than your typical potato fry from the nutty and creamy chickpea flour.
Chickpea Fries (Panisse)
Ingredients
- 2 c water
- 1 tsp olive oil
- ½ tsp salt
- 1 c chickpea flour
- Oil for frying OR 1 Tbsp melted butter for baking
- Salt and pepper (for serving)
Instructions
- Grease an 8x8 baking dish and set aside.
- Heat the water, oil, and salt together in a large saucepan over high heat. Once the water is steaming and nearly at a boil, reduce the heat to medium-low. Sprinkle the chickpea flour into the water, whisking constantly until the mixture thickens slightly.
- Switch to a flat-bottom spoon or spatula and continue stirring the chickpea mixture until it becomes thick and glossy, 7-10 minutes. (Your mixture will have lumps. Don’t worry; they will go away during the final cooking process.)
- Pour the hot mixture into the greased pan. Set aside to cool for 1 hour.*
To Pan Fry
- When you are ready to fry your panisse, pour ¼ inch of oil into a heavy-bottomed sauté pan. (Cast iron works well.) Heat the oil over high heat.
- While your oil is heating, un-mould your panisse by turning the baking dish upside-down on a cutting board. Cut the block into long strips or chunks, however you would like your panisse to turn out.
- Place the cut panisse into the hot oil, being careful not to crowd the pan. Fry them for 3-5 minutes on each side, until golden. Remove the hot panisse from the pan and place on a paper towel lined plate. Sprinkle liberally with salt and pepper.
- Continue with the remaining panisse.
To Bake
- Preheat your oven to 450F.
- Line a baking sheet with aluminum foil and liberally grease the baking sheet with melted butter.
- Un-mould your panisse by turning the baking dish upside-down on a cutting board. Cut the block into long strips or chunks, however you would like your panisse to turn out.
- Place the cut panisse onto the greased baking sheet and brush each with melted butter. Place in the preheated oven and bake for 10 minutes.
- After 10 minutes, remove the panisse from the oven and flip them on the baking sheet. Return them to the oven and bake for an additional 10 minutes.
- Sprinkle liberally with salt and pepper to serve.
Notes

More unique recipes using beans:
- Bean Ragoût and Crisped Mushrooms by Culinary Adventures with Camilla
- Five Layer Greek Hummus Dip by Food Done Light
- Gold Rush Baked Beans by Lifestyle Food Artistry
- Colombian Red beans – Frisoles Antioquenos by Palatable Pastime
- One Pot Tuscan Style Garlic Herb Pork Chops by Hezzi-D’s Books and Cooks
- White Bean Ragout, Frisèe, and a Fried Egg by The Wimpy Vegetarian
If you liked this recipe, here are some similar dishes you may enjoy!

 Socca (French Chickpea Flatbread)
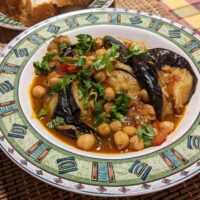
 Manzaleh (Middle Eastern Chickpea Eggplant Stew)
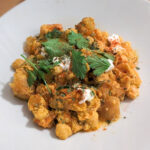
 Himachali Madra (Himachali Chickpea Yogurt Curry)
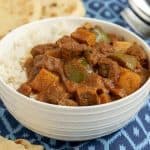
 Slow Cooker Madras Beef Curry with Vegetables
 Kimbap (Korean Sushi)
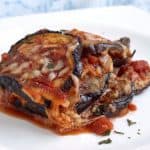
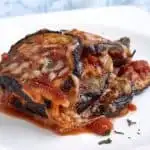 Parmigiana di Melanzane (Eggplant Parmesan) and Fresh Herb Tomato Sauce
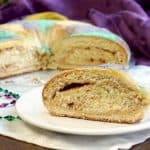
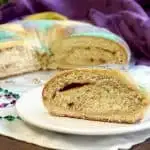 Traditional Mardi Gras King Cake
 Pecan Cranberry Jello Salad


Sarah founded Curious in 2010 as a way to save her recipe creations and share culinary experiences. Her love for cultural cuisines was instilled early by her French Canadian Grandmother. Her experience in the kitchen and in recipe development comes from over 10 years working in professional kitchens. She has traveled extensively and enjoys bringing the flavors of her travels back to create easy-to-make recipes.
Zoe Lyons
Sunday 5th of December 2021
What is a 'c' of chickpea flour??
Sarah Ozimek
Tuesday 7th of December 2021
Zoe, 'c' is a US cup = 92g of chickpea flour.
Camille
Sunday 29th of August 2021
To note, these are from Nice. Chickpeas are widely used around the Mediterranean, so it's no surprise many neighbouring regions have very similar dishes. The Ligurian dish is made without olive oil and is eaten differently than in France, as they eat it cold or hot, fried or not, sometimes with lemon or onion. Might not seem like real differences, but to both Southern-French and Ligurian people, they are!
Sarah Ozimek
Friday 10th of September 2021
Very interesting. Thanks for sharing these specifics. What do the Italians use instead of olive oil, or is there no fat at all? And how do the French specifically eat it?
MamaD
Saturday 13th of February 2021
I use a slightly different recipe that calls for a little more oil in the batter - and use the air fryler after chilling and cutting into fries. Air frying yields a perfectly crispy outside and soft inside - sooo reminiscent of french fries that this is my new "go to"!! I make the batter, chill and cut, then refrigerate in a sealed container between paper towels for up to 4 days - making a handful a day in the air fryer @ 390 for approx 10-12 minutes. I also make a garlic, lemon, tahini sauce to dip in. So satisfying and delicious!! I often add fresh minced rosemary or cumin to the batter to change up the flavors. Really can't get enough of these!!
Sarah Ozimek
Sunday 14th of February 2021
Thanks for sharing! These are great tips!
Lana
Wednesday 10th of June 2020
So easy to make and so delicious! Thanks for the recipe!
Sarah Ozimek
Thursday 11th of June 2020
So glad you enjoyed it Lana!
June
Wednesday 17th of July 2019
I've made these years ago but also used a broth instead of water. I know not authentic, but they were good.
Sarah Ozimek
Wednesday 17th of July 2019
Broth would add great flavor to these! Nice idea!