
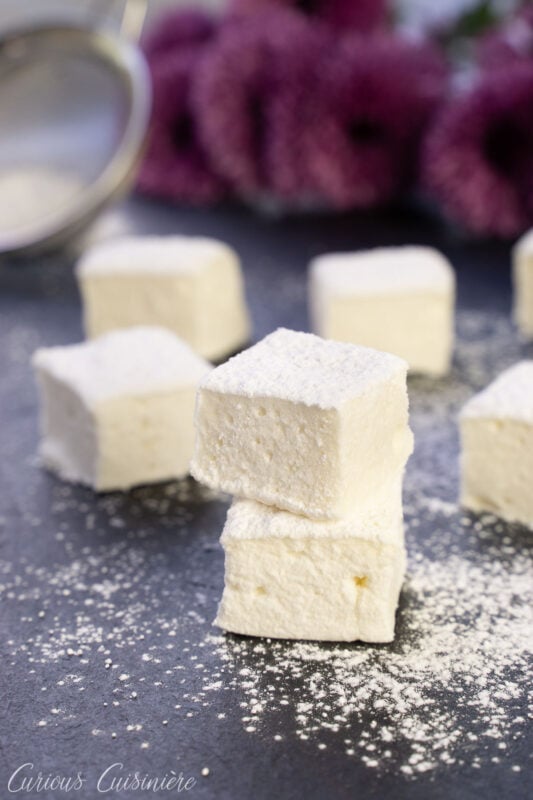
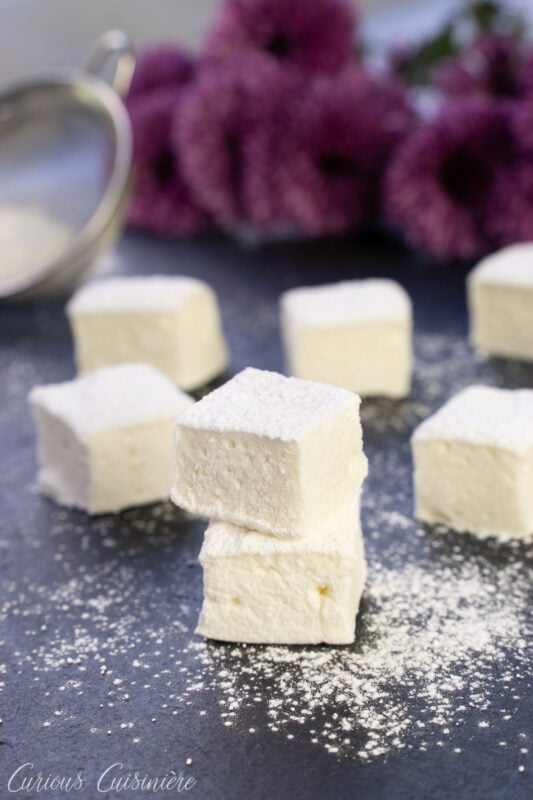
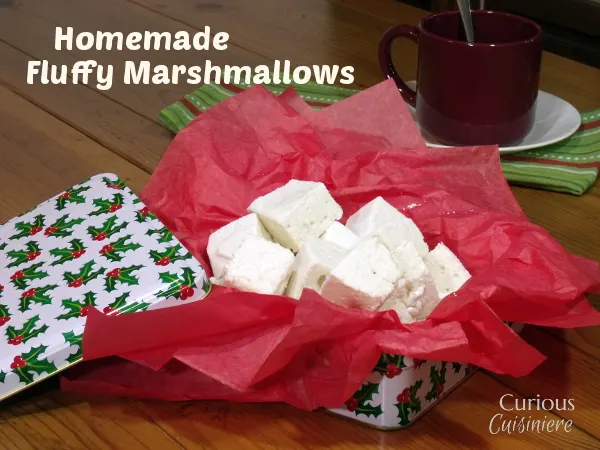
This homemade marshmallows recipe makes super fluffy corn syrup free marshmallows. The process is easy and won’t leave you tangled in a sticky, stringy mess. They’re the perfect addition to winter hot chocolate!

Have you ever tried homemade marshmallows?
I remember the first time I had a homemade marshmallow. A friend in a Bible study made them with her kids.
My mind was blown.
I have weak spot for marshmallows. Give me a bag, and it’s a struggle for me not to keep stuffing them into my mouth.
But homemade? Could it be possible?
Apparently it is, and it is much easier than I would have ever thought.
The ingredients for great homemade marshmallows
While researching making marshmallows from scratch, I found a number of recipes, all using different ratios of sugar to water to gelatin. Some used egg whites, others did not. But, after reading comments on A LOT of recipes, it seemed to me that egg whites were the key to a fluffy marshmallow. Those who didn’t use the egg whites always commented on the dense texture.
So, part one was set. We would use egg whites.

Two methods for making homemade marshmallows
The method that everyone seemed to use was to heat a sugar syrup to roughly 245F (soft-ball stage) and then pour it over softened gelatin. Then you whip that mixture with vigor until it triples in volume. Once you get the lift, you whip up the egg whites to stiff peaks and beat the whites into your sticky, fluffy mixture.
Everyone warned about the sticky mess you would get yourself into. But, I thought this was how it was done.
However, I still had one more trusted source to consult. David Lebovitz. His method differed, and I was intrigued.
Instead of beating the sugars with the gelatin and then adding the egg whites, he added the sugar syrup and softened gelatin to the beaten egg whites and then continued to beat until the mixture was cool.
He didn’t talk about a sticky mess.
I decided to take matters into my own hands and see for myself which method rose above.
The easy way to make homemade marshmallows
I tried David’s method first. It was a lot going on at once, heating, beating, melting, beating. But, even taking pauses in between the steps to re-check the recipe didn’t result in failure. In fact, the end result was a marshmallow mixture that scooped nicely into my prepared mold and set up into an INCREDIBLY fluffy marshmallow.
The messy way to make homemade marshmallows
The other method started off similarly enough. I even began to wonder if there would be a difference.
And then, the more I beat my syrup and gelatin, the more my hand mixer started to whine.
And, honestly, I would whine too if I had a sticky, gloopy, marshmallow mess climbing, uncontrollably up my beaters.

I stopped for a moment to scrape the beaters down, and that’s about when all was lost. The moment I started my mixer up again, my beaters folded in on themselves.
I was done.
I can’t really speak to the texture of the marshmallows made by this method, because I stopped beating about three minutes into the ten required for the proper volume.
Maybe if I had been using a stand mixer rather than a hand mixer, my results would have been different.
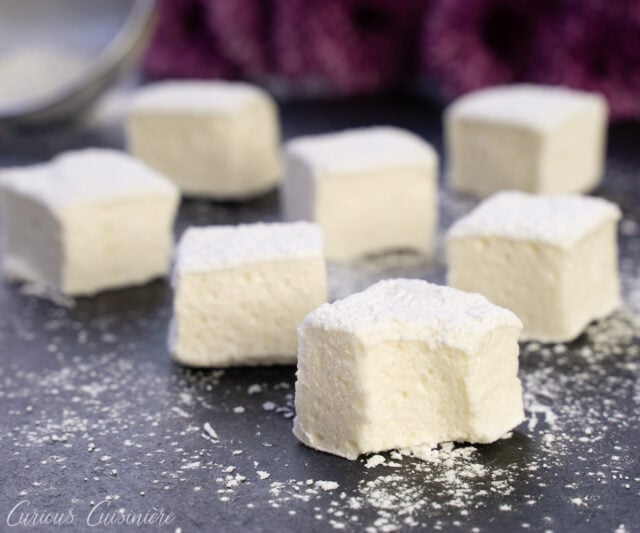

For now, I’ll be sticking with David’s Lebovitz’s method. No strings of sugar, just incredibly fluffy and bouncy marshmallows.
Homemade Marshmallows
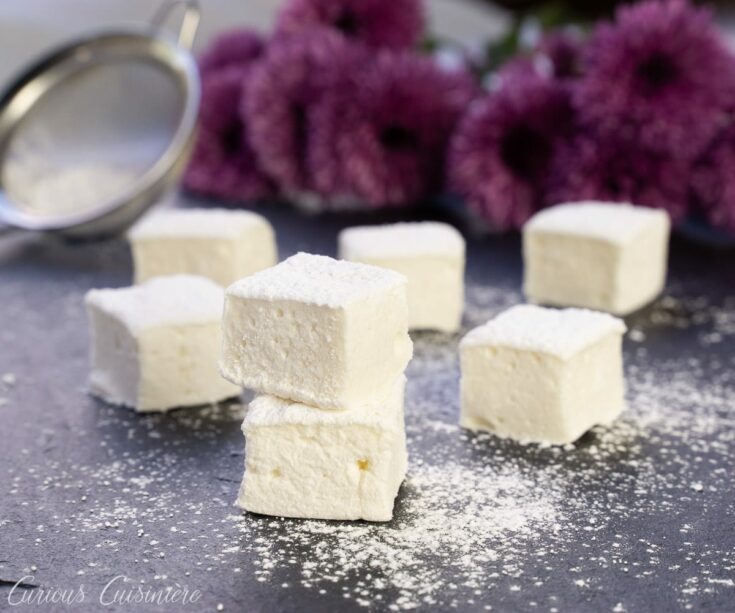

These homemade marshmallows are super fluffy and making them doesn't leave you tangled in a sticky, stringy mess.
Ingredients
Marshmallow Dusting Mixture
- 1 c powdered sugar
- 1 c cornstarch (or arrowroot powder)
For the Marshmallows
- 1/2 c + 1/4 c cold water
- 2 (7g) envelopes unflavored gelatin (roughly 5 tsp)
- 1 1/2 c granulated sugar
- 2 egg whites
- 2 tsp pure vanilla extract (use clear vanilla extract if you want pure white marshmallows)
- 1/16 tsp salt
Instructions
- Grease an 8x8 pan and dust generously with the Marshmallow Dusting Mixture. Set aside. (Note: a 9x13 does work if you want thinner marshmallows.)
- Place 1/2 c of cold water in a small bowl and sprinkle the gelatin over the water. Set aside to soften.
- In a small saucepan, heat 1/4 c water and granulated sugar together over medium-low heat. Gently swirl the pan occasionally to distribute the heat, but do not stir. You will be cooking this syrup until it until it reaches 245F. (Watch it carefully near the end as the temperature can rise quickly!) Continue with the next step as your syrup is heating.
- Once the sugar syrup gets close to 245F, using a hand mixer, whip the egg whites in a large bowl until they become frothy. Add vanilla and salt, and continue to whip the whites into stiff peaks. (To tell if you have stiff peaks: Stop the beaters and pull them out of your egg whites. If the whites form points that stay upright, they are stiff. If the points fold over on themselves, you have soft peaks. Beat a few seconds more, then test again.)
- When the syrup hits 245F, pour the hot syrup mixture into the beaten egg whites, slowly, while beating on medium-low speed.
- Once you have beaten all of the syrup into the egg whites, slide the softened gelatin into the (now empty) hot pan. In a few seconds, it will liquefy. Pour this liquid gelatin into the sugar and egg white mixture, while beating on medium speed.
- Continue to beat the mixture until the bottom of the bowl is COMPLETELY cool to the touch. This should take 10-12 minutes.
- Spread the cool marshmallow mixture into the prepared pan and let the mixture set, uncovered for 3-4 hours, until firm to the touch.
- Once the mixture is firm, dust the top with the Marshmallow Dusting Mixture and loosen it from the pan. Cut the marshmallow slab into 1” marshmallows, tossing each marshmallow in the Marshmallow Dusting Mixture as you go.
- Store in an air-tight container for up to 1 week.
- (The marshmallows can also be made ahead. Cover them once they are firm, and store them on the counter for up to 2 days. Cut and dust with Marshmallow Dusting Mixture just before you would like to serve them.)
Notes
These marshmallows will last 1 week on the counter (in an air-tight container). They are best if left un-cut until serving. Once cut and dusted, they keep well for about 2 days. After that the dusting mixture will start to moisten and the marshmallows will begin to stick to each other. For storing cut marshmallows longer than 2 days, keep them in a sealed bag with extra dusting mixture and toss them occasionally to re-dust.
This recipe was updated in 2020 to make the marshmallows without corn syrup. Yes, they're just as good!
Nutrition Information:
Yield:
9Serving Size:
4 marshmallowsAmount Per Serving: Calories: 139
More DIY Christmas gifts from the kitchen:
Beverages:
- German Egg Liqueur (Eierlikör) by Magnolia Days
- Holiday Sangria Surprise by Momma’s Meals
Bread:
- Homemade Pumpernickel Bread by The Foodie Army Wife
Condiments and Sauces:
- Butterscotch Sauce {Low Carb} by Nosh My Way
- Cranberry Hatch Chile Salsa by The Texan New Yorker
Savory and Sweet Mixes:
- Homemade Sazon Seasoning by The Little Ferraro Kitchen
Desserts and Sweets:
- Assorted Macaroons by Take A Bite Out of Boca
- Matcha Green Tea Holiday Wreath Cookies by NinjaBaker
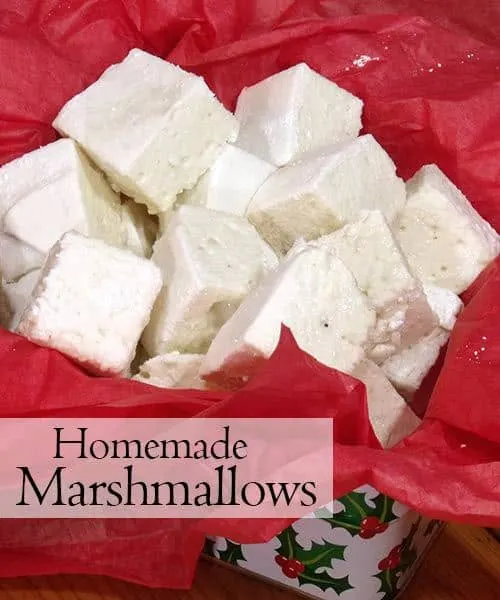
We’ve updated our pictures since we first shared this recipe on Curious Cuisiniere, but we’ve left some originals here, in case you’ve found us in the past and are looking for that old, familiar image.


If you liked this recipe, here are some similar dishes you may enjoy!


Sarah founded Curious in 2010 as a way to save her recipe creations and share culinary experiences. Her love for cultural cuisines was instilled early by her French Canadian Grandmother. Her experience in the kitchen and in recipe development comes from over 10 years working in professional kitchens. She has traveled extensively and enjoys bringing the flavors of her travels back to create easy-to-make recipes.
Jacqui
Saturday 20th of April 2024
The flavor is good, not too sweet, and texture is not too bad. I like that the recipe doesn’t use corn syrup! I will say that you don’t need that much cornstarch and powdered sugar mix. I made a double batch and used the powder mix liberally and I still have about half a cup left. And the double batch made a full 9x13 and an 8x8 pan, with the Marshmellows an inch thick.
Sarah - Curious Cuisiniere
Monday 22nd of April 2024
Hi Jaqui. We're glad you enjoyed the marshmallows. The amount of dusting mix will depend on the humidity in your area and how long you plan to store them. (Often they need a second coat after a couple of days.) We just have you make ample so if you need a bit more later, you have it. But yes, if your area is dry and you plan to use them pretty quickly, you could likely cut the mix back a bit.
Kat
Sunday 4th of February 2024
These were amazing! Will definitely be making them again.
Sarah - Curious Cuisiniere
Thursday 8th of February 2024
So glad you enjoyed them!
Wenda
Monday 27th of November 2023
Okay, me again. Mine turned out great. So, thank you. It was worth the second batch of syrup. Not to make the same mistake I did…let the syrup simmer on very low heat and do not stir after it reached boiling state. I think this is why it crystallised. And once you’ve added the gelatine (after quickly letting it melt in the warm pot…beat until cool (yes, about 10 mins) But it turned out great and I really like this recipe with the egg white. I have made the other one without…but this is fluffy and delicious and really not too messy either. Thank you for sharing!
Sarah - Curious Cuisiniere
Tuesday 5th of December 2023
We're so glad you enjoyed the recipe Wenda. Thank you for sharing your tips after making it.
Wenda
Monday 27th of November 2023
I wanted a recipe which uses egg whites as I have a few left and do not want to make more meringues. Loved the fact that it had such great reviews.
Julie @ Texan New Yorker
Tuesday 9th of December 2014
I made my first batch of homemade marshmallows a few weeks ago, and now I'm hooked! There is simply NO comparison to store bought marshmallows. The recipe I followed didn't use any egg whites, but I will have to try them that way sometime. These will make a wonderful gift for someone!