Preserving Fruit: Jam Basics
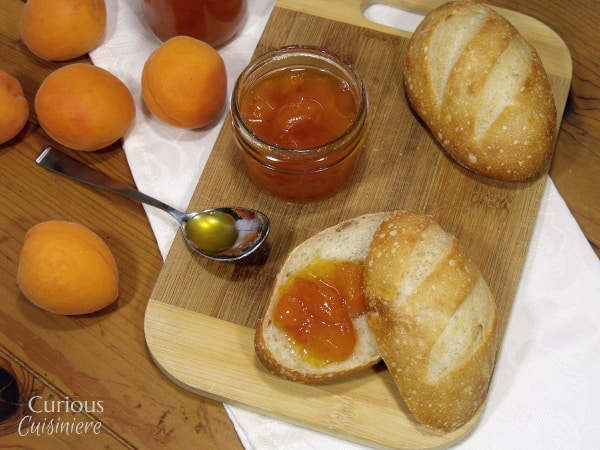
Last week, we talked about the Basic Water Bath Canning Process. Today, we're talking about one of our favorite things to can.
Jam!
But, before we start talking about jam, we need to dive a bit into the messy and sometimes blurred lines of fruit preserve terminology.
Jelly. Jam. Preserves. Marmalade. Chutney. Fruit Butter.
For the longest time I couldn't tell you the difference between jelly and jam, let alone what a chutney was.
It can seem like so many names for the same, delightfully fruity spread for our morning toast. But, there are some differences that make them easy to tell apart.
All of these categories are methods of preserving fruit using pectin, acid, and sugar. The balance of these three elements creates the perfect end result. The variations come with how the fruit and cooking process are used to create that spreadable finished product.
Jelly: Clear and firm, with a slight jiggle. Jelly is made using only fruit juice and contains no fruit parts.
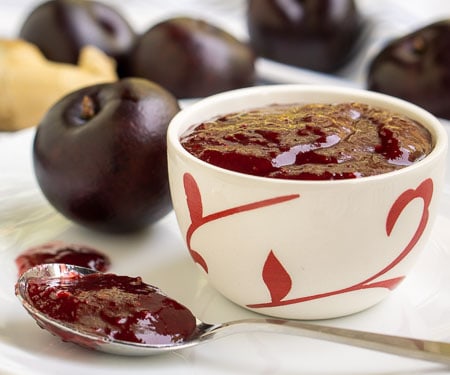
Jam: Thick and mildly chunky, with small-ish bits of fruit. Crushed or cut-up fruits are cooked with sugar until soft and spreadable.
Preserves: Whole fruit in a sugar syrup or jelly. Preserves differ from jam only in that the fruit is left whole or in larger pieces, rather than crushed.
Marmalade: A citrus jelly containing shreds of rind and chopped up fruit.
Conserves: A chunky jam made with a mixture of fruits (usually including some citrus), raisins and nuts.
Fruit Butters: Thick and smooth spreadable fruit. These use a low and slow method of cooking to achieve deep flavor and a thick consistency.
Now that you're a pro on the different kinds of fruit preserves. Let's talk about jam.
Well, we'll call it jam. But, in reality, this is the method you will use to make everything listed above, except fruit butters. (We'll dive more into fruit butters at a later date.)
Ingredients
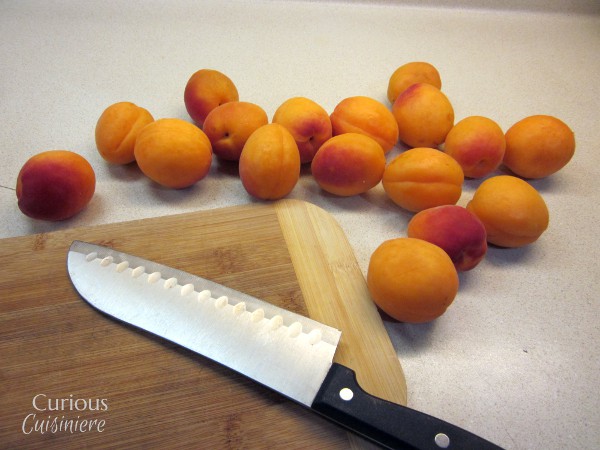
Fruit: We're preserving fruit here, so this one goes without saying. But, it's a pretty crucial ingredient. Fruit should be firm and ripe.
Pectin: Pectin creates the gelling that is the whole point of this process. Some fruits, like tart apples, blackberries and Concord grapes have enough natural pectin to create a gel on their own. Other fruits, like blueberries, cherries, rhubarb and strawberries do not contain enough natural pectin to create a gel and therefore need some help in the form of commercial pectin (or the mixing of high and low pectin fruits). For more on pectin, take a look at our No Pectin Apricot Jam post.
Acid: Acid is essential to creating the perfect gel because it helps the pectin bond to itself. Typically, high pectin fruits have enough acid to gel properly. But, if you are using low acid fruits or a mixture, lemon juice is helpful to give the proper acidic balance.
Sugar: Sugar does so much more than simply give jam added sweetness. Pectin bonds to itself to form the gel, but water molecules stop pectin from bonding. To get the water molecules out of the way, we add sugar, which binds to the water molecules and frees up the pectin to do its thing. Cane or beet sugar are traditionally used for making jams. If you would like you use honey, replace only some of the sugar with honey, since it can overpower the fruit flavor and effect the gelling process.
The Process
Prep the Fruit: Wash your fruit. Remove any stems, cores and pits. Peel if desired. For Jelly and Preserves, you can leave smaller fruits whole and cut larger fruits into chunks. For Jams and Conserves, crush or cut your fruit into small pieces. For Marmalade, slice your citrus (fruit and rind) into thin slivers.
Prep the Jars and Canner: Wash your jars with hot, soapy water and place them in a 200⁰F oven to dry and stay hot. (NEVER put hot jam in cool jars. You risk shattering the jars due to the temperature change.)
Fill your water bath canner with water and bring it to a boil. (Particularly if you are using commercial pectin, the cooking process will go quite quickly, so starting the canning water now is essential.)
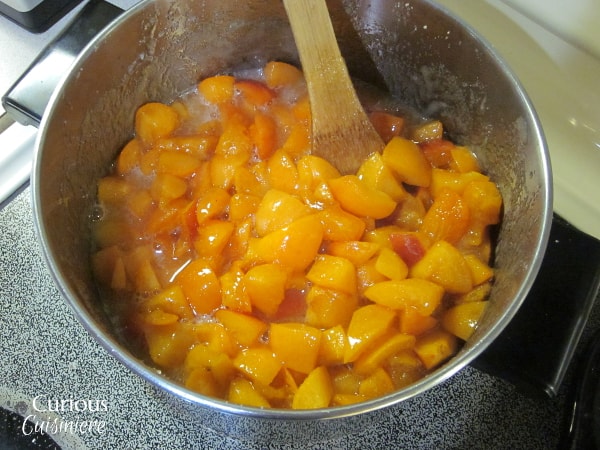
Cook the Fruit: Use a wide pot that is 3-4 times the size of your prepared fruit. Bring the fruit, acid, spices (if using), and commercial pectin (if using) to a boil slowly, over low heat.
(If making Jelly, the first step is a bit different. Boil your fruit with water to create fruit juice, then strain that juice from the fruit pieces. Place the juice in a pot and bring it to a boil with any added acid and pectin.)
Once the fruit has come to a boil, add the sugar and stir until it has dissolved.
Turn up the heat and bring the mixture to a rolling boil that can't be stirred down. (You should start to feel a little twinge of panic that your boiling pot of jam is going to take over the kitchen. It's just that kind of boil. But, that's why we used a pot 4 times larger than you thought you would need. You'll be ok.) The mixture may foam, but that is ok too. The foam won't harm anything. But, if you are concerned about the foam messing up the look of the jam in your jars, you can skim it off before filling the jars.
When using commercial pectin, this rolling boil will only need to be held for 1-2 minutes. (Follow the instructions on the pectin package for best results.) However, if you are using natural pectin from your fruits, the boiling could take anywhere from 5 - 20 minutes.
Testing for the Gel: There are three options to test if your jam is set and ready to be canned.
- Temperature test -- Temperatures from 215°F to 218 °F create runny jams and jellies; from 218°F to 220°F create spreadable jams, and 220°F to 222°F create firm and stiff gels that hold their shape. Be sure to stir your jam thoroughly and to take the temperature from the center of the mixture to be sure you are not in a hot pocket. (Check to make sure your thermometer goes up to 225°F before you start! Many thermometers stop at 220°F.)
- Freezer test -- While your jam is cooking, place a small plate in the freezer. Once your jam starts to thicken, spoon a small amount of the mixture onto the plate and place it back into the freezer for 1 to 2 minutes. Remove the plate from the freezer and press the pile of jam. If it wrinkles, the jam is done. As an added test, you should be able to trace your finger through the center of the puddle of cooled jam, and the jam should stay put.
- Spoon or sheet test -- Dip a cold metal spoon into the boiling mixture. Away from the heat, tilt the spoon, so that the mixture runs off the side. If the mixture is not quite jelled, the liquid will flow off the spoon in a stream. As your jam starts to set, the stream will become drops that get progressively thicker. When mixture slides off of the spoon in one sheet instead of drops, it has reached the jellying stage.
We like to use a combination of the temperature and freezer test to check our jam. While the sheet test is fun, we have found that it takes a bit of experience to know what just the right sheeting looks like.
Fill the Jars and Process: Fill clean and hot jars to within a ¼ inch of the rim. Be sure the rims of the jars are clean before placing the lids and bands on them. Then, process the jars in your boiling water canner for 10 minutes. See our Canning Basics post for details on the canning process.
(For additional canning references, here is the USDA safe canning guide from the National Center for Home Food Preservation.)
One final note on jams. Don't try to make too large of a quantity at one time. Too much stuff in one pot means it will take longer to boil, changing the flavor of the jam and effecting the way the pectin sets up.
What kind of jam will you make first?

Sarah founded Curious in 2010 as a way to save her recipe creations and share culinary experiences. Her love for cultural cuisines was instilled early by her French Canadian Grandmother. Her experience in the kitchen and in recipe development comes from over 10 years working in professional kitchens. She has traveled extensively and enjoys bringing the flavors of her travels back to create easy-to-make recipes.
i came across this recipe googling no pectin jam; if you still are up and running, do you have an opinion on peel vs no peel for apricot jam?
Hi Desiree. Honestly, I never peel my apricots to make the jam. I like a bit of texture to my jams, so the peels don’t bother me. If you are sensitive to textures or want a more smooth jam, then you may want to consider peeling them. Enjoy!
Thanks for spelling out the basics from Jelly to fruit butters. When I posted this on my facebook page I got an immediate response! Beautiful photos and step-by-step instructions.
Thanks Joy, and thanks for sharing!