Brandy Apple Pie with an Oil Pie Crust
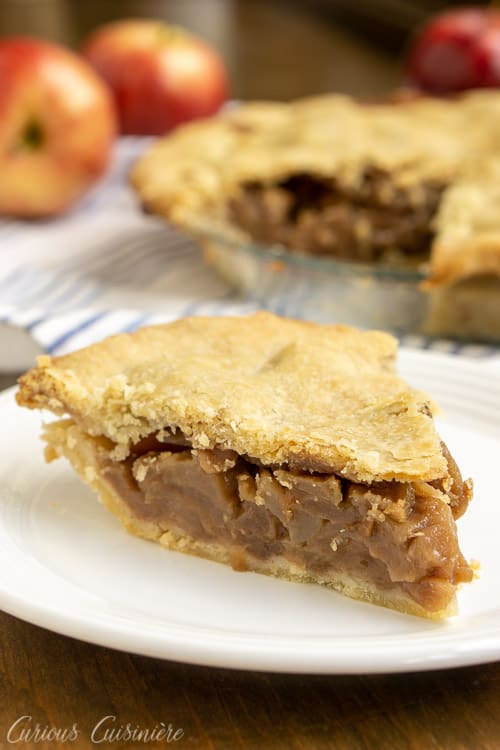
This Brandy Apple Pie has a (not so) secret ingredient that adds some serious flavor to the American classic! We're using an oil pie crust to add extra tenderness to this delicious pie. This is definitely a fall baking recipe that you need to try!
 Mastering My Mother's Pie Crust
As I'm sure I've mentioned before, my love of cooking comes from my wonderful Mother and my Grandma, her mother. Cooking for them was a way to bring people together and show you care.
In so many cultures and families, like ours, recipes and traditions have been passed down from generation to generation like the old, well-used cookbooks that are on our shelves.
My Mother and Grandmother awe me with their ability to whip up a chest freezer full of Tourtières (traditional French-Canadian Christmas pork pies) like they are making a quick batch of mashed potatoes.
They can have a lasagna big enough for an army in and out of the oven before you could identify the fantastic smell permeating the house.
And, they always know exactly which food will brighten a bad mood, soothe a cold, or just melt the day's stresses.
Bringing family together can be an art, and these women have mastered it.
I am so grateful for all they have taught me, not just about cooking, but about the importance of family, and I hope one day to come close to their skill.
But, right now, I am still just trying to master my mother's pie crust.
How To Make An Oil Pie Crust
If you've ever made a pie, you'll know that pie crusts can be a bit tricky to get the hang of.
Making an oil pie crust is no exception.
Some people like oil pie crusts because they have more of a neutral flavor than a butter pie crust, and they are easier to mix up than a crust that uses butter or shortening, because you don't have to cut the solid fat into the flour. Since the oil is a liquid, you can just mix it all together. Easy peazy.
But, oil pie crusts can be a bit more finicky when it comes to rolling them out.
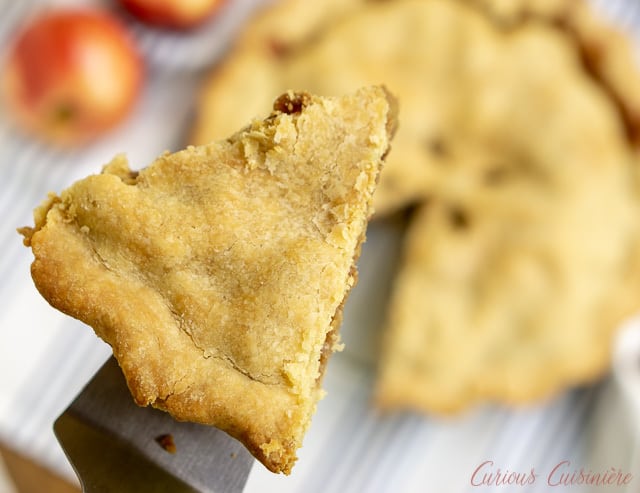
Oil in pie crusts creates a more crumbly crust, rather than the flaky crust that butter creates. This crust that almost melts in your mouth can also be a bit more crumbly under the rolling pin, and needs a bit more attention to detail to bring it together.
What we have found is that the consistency of your mixture as you bring the ingredients together is the key to getting a successful oil pie crust.
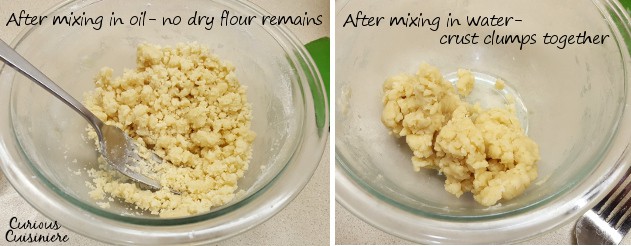
First, when you mix the oil into the flour and salt, you need to make sure that all the flour has been moistened by the oil. There should be no loose bits of flour hanging around. (Be sure to check the bottom of the bowl.) The mixture should have a distinct, crumbly look that kind of resembles mini peas.
Second, when you add the water, continue mixing with the fork that you used to mix in the oil. The dough should start to come together in bigger clumps and start cleaning the edges of the bowl of any stray bits of crust.
You should have to do VERY minimal work with your hands to get your dough to stay together in a ball. If it's looking too dry after mixing in the water, add some more water a little at a time, until it does come together.
When you roll out your dough, dusting your counter and rolling pin with a little flour is a very good idea to keep the crust from sticking.
Our Brandy Apple Pie Recipe
The decision to make this a brandy apple pie was a bit of a whim.
An attempt to put a bit of a spin on a classic, if you will.
Not that classic apple pie needs any spinning.
I don't think I've ever met an apple pie I didn't like. (Unless, the filling is more sugar than apples... that's just not cool. )
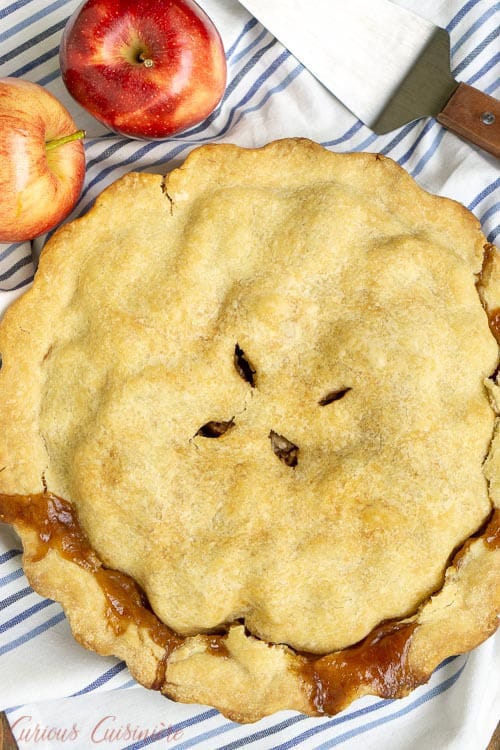
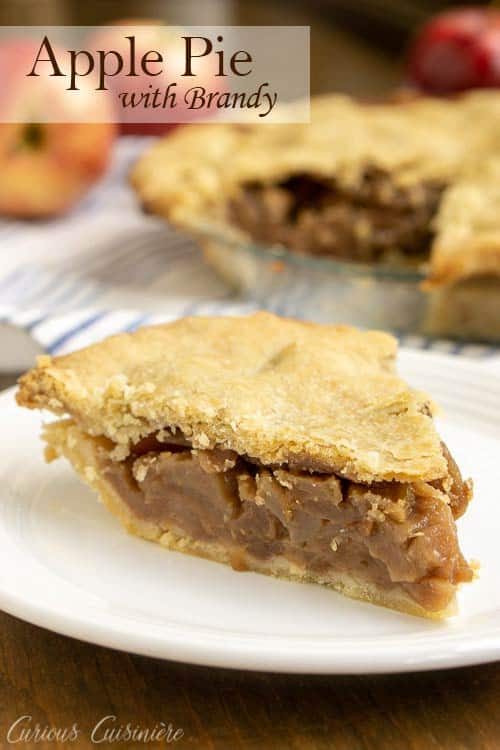
But, nonetheless, I decided to whip out the booze for this one, and the flavor of the brandy complemented the sweet and slightly tart apples very well.
Just a hint of brandy flavor is all you need to change the flavor of the filling just enough to be different, while still keeping all the traditional apple pie goodness.
If you love apple pie, then our Polish Apple Pie will be right up your alley too!
Brandy Apple Pie
Ingredients
For the Crust
- 3 c unbleached all-purpose flour
- 1 ½ teaspoon salt
- ¾ c vegetable oil or light flavored olive oil
- 6 tablespoon ice cold water
For the Pie Filling
- 10 c sliced apples (about 9 medium apples or 3 lbs), assorted red and golden delicious– peeled, cored, and sliced thin
- 1 ½ tablespoon lemon juice
- ½ - ¾ c white sugar (depending on how sweet your apples are)
- ¼ c unbleached all-purpose flour
- 1 teaspoon cinnamon
- ¼ teaspoon salt
- ¼ teaspoon nutmeg
- 2 tablespoon brandy
Instructions
- Preheat your oven to 425F.
For the Crust
- To make the crust dough, mix the four and salt in a large bowl.
- Add the oil and mix with a fork until all of the flour is moistened and the mixture resembles small peas. (No dry flour should remain, even in the bottom of the bowl.)
- Add the water, a few tablespoon at a time, and continue to mix with a fork until the dough comes together. (The dough should clump around the fork and clean the edges of the bowl.) If the dough isn't clumping around the fork, add more oil by the teaspoon, until the dough comes together.
- Divide the dough in half (with one half that is slightly larger than the other) and shape each half into a ball. Wrap the balls in plastic wrap or a cover them with a tea towel while you make the filling, so that they don't dry out.
For the Filling
- Combine all pie filling ingredients in a large bowl. Stir until evenly mixed. Taste and adjust the sweetness as desired.
Putting it all together.
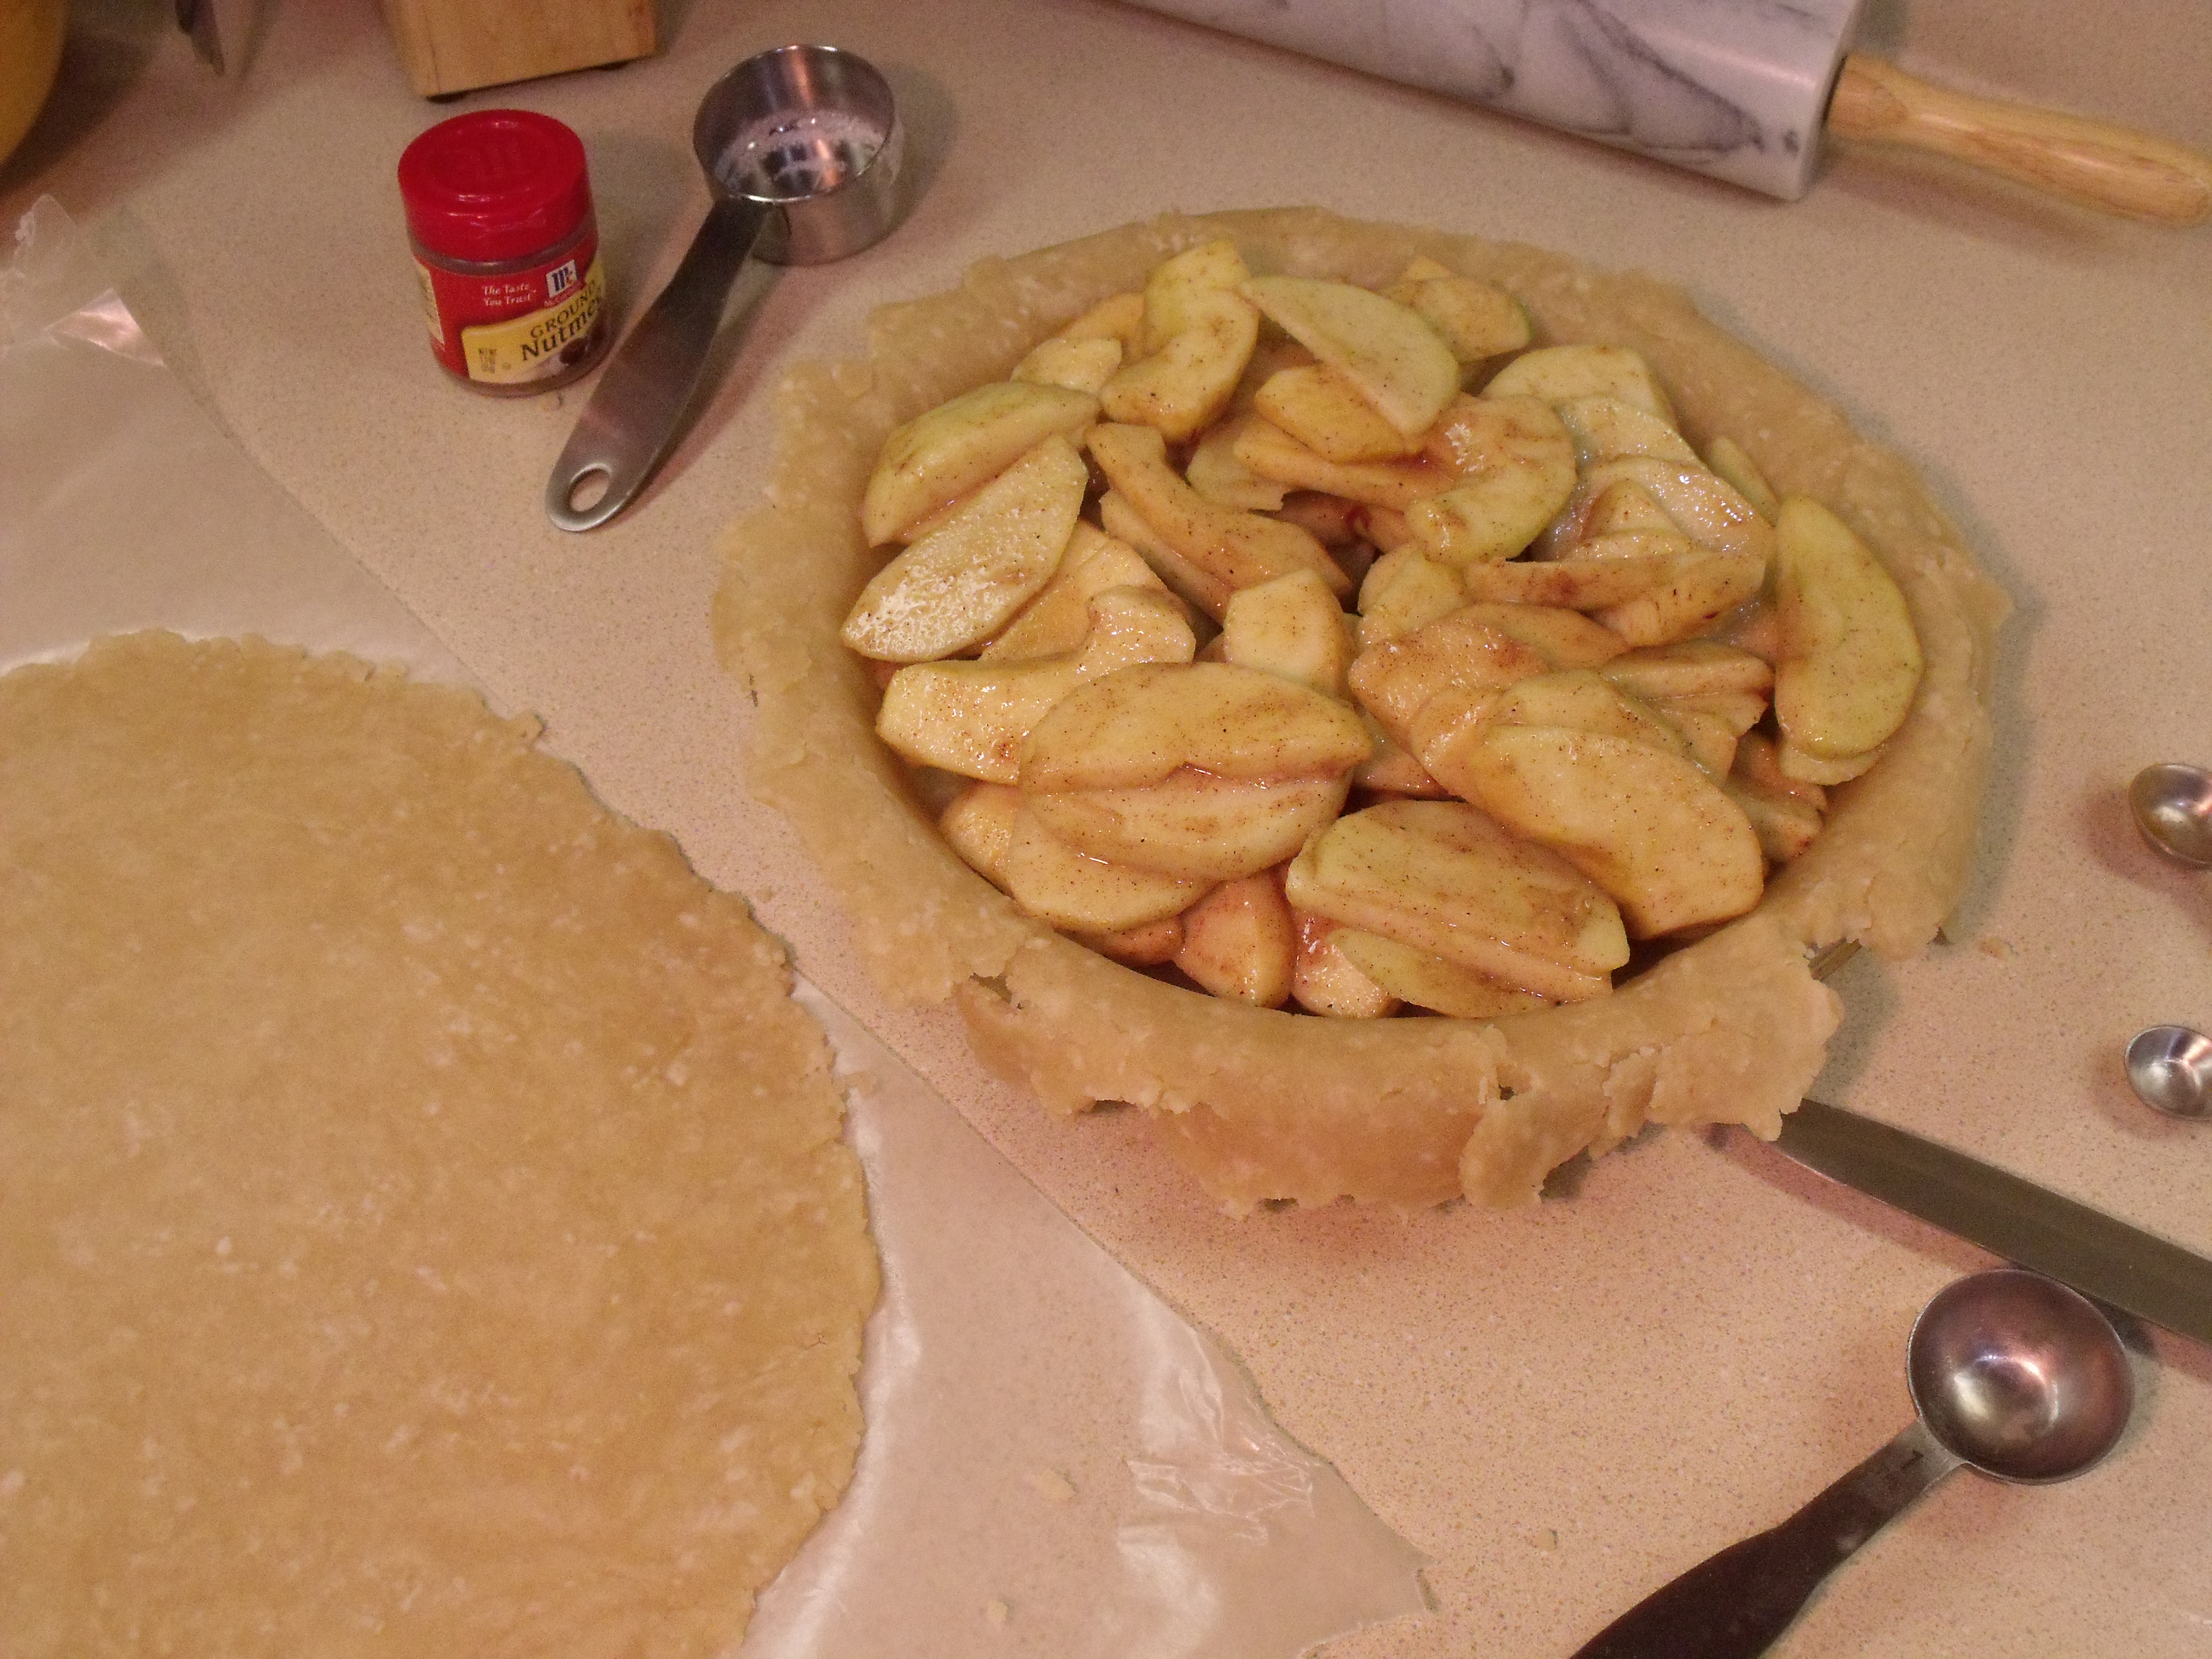
- Roll each crust section into a circle between two sheets of wax paper. (Your smaller section should be roughly 10 inches in diameter, and your larger section should be 11-12 inches in diameter.) Place the larger of the two crusts in the bottom of a 9” pie pan, letting the edges overhang the edges of the pan.
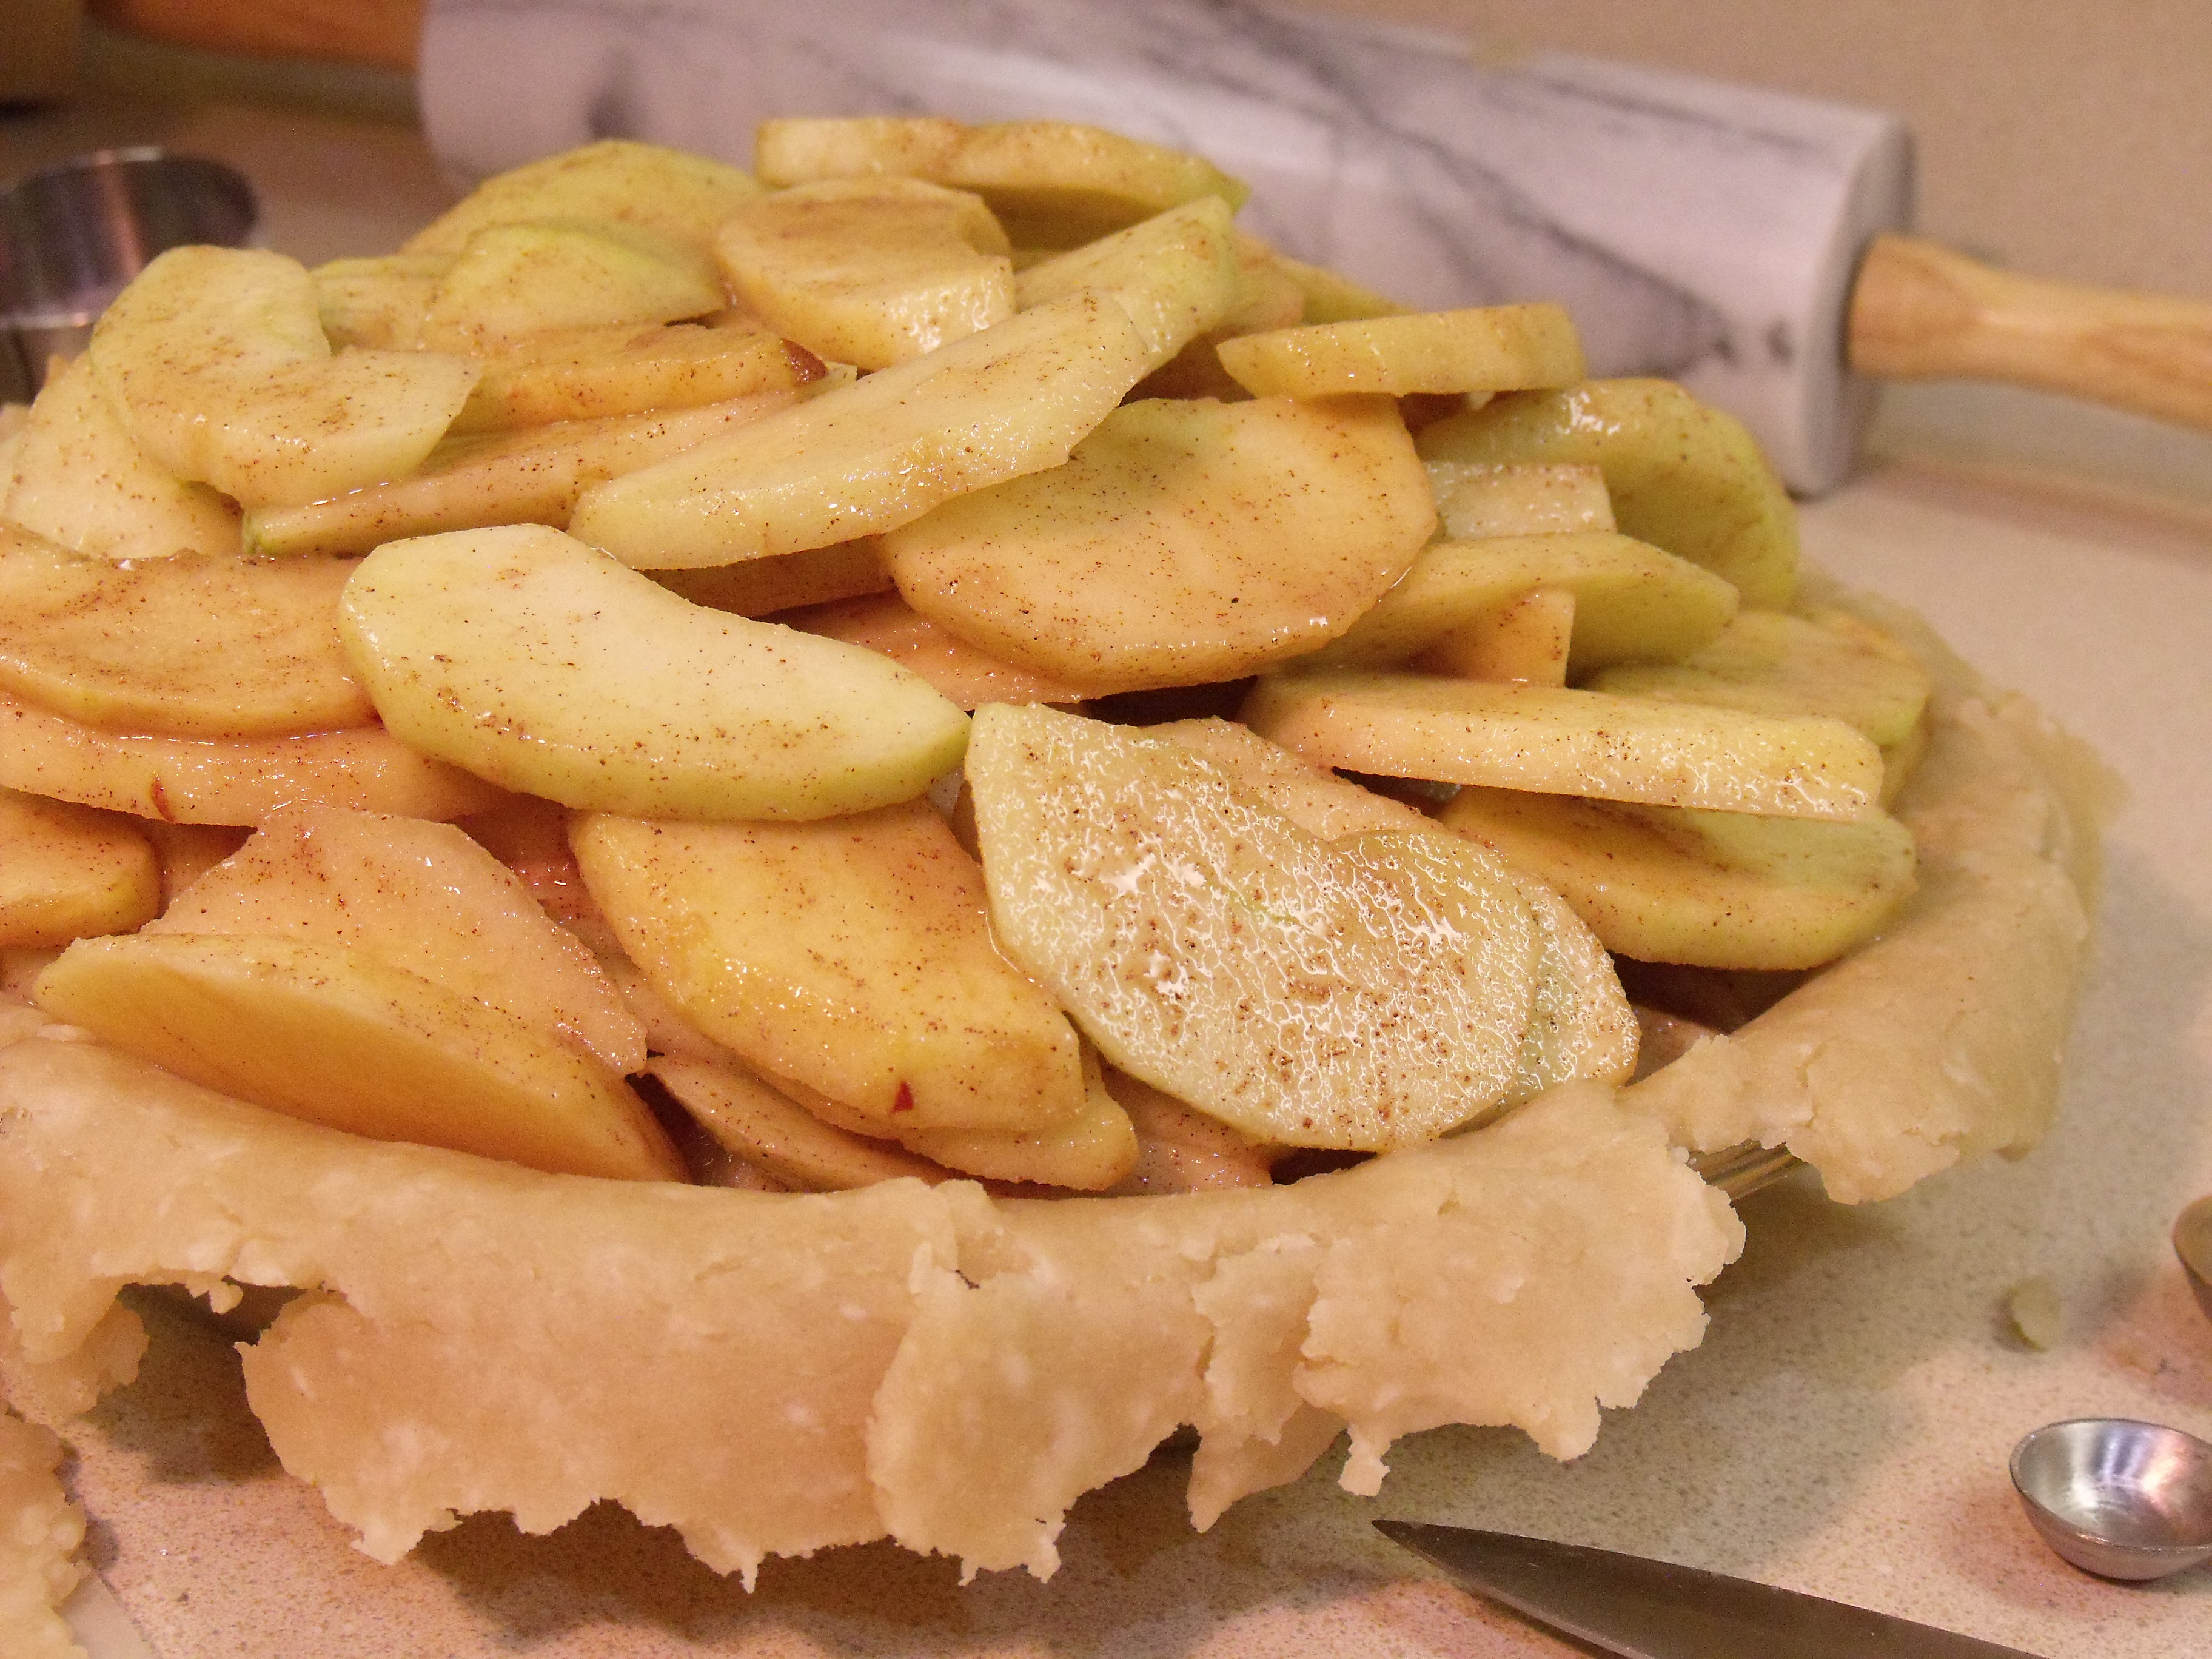
- Mound the apple mixture into the crust.
- Use your finger dipped in water, to moisten the edges of the bottom crust.
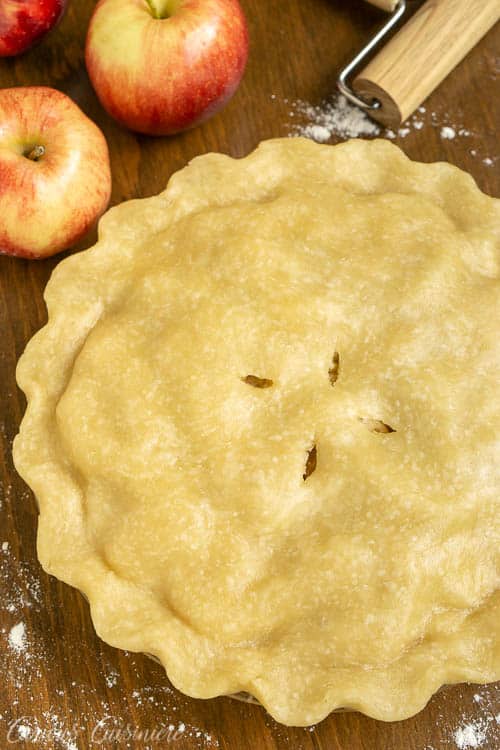
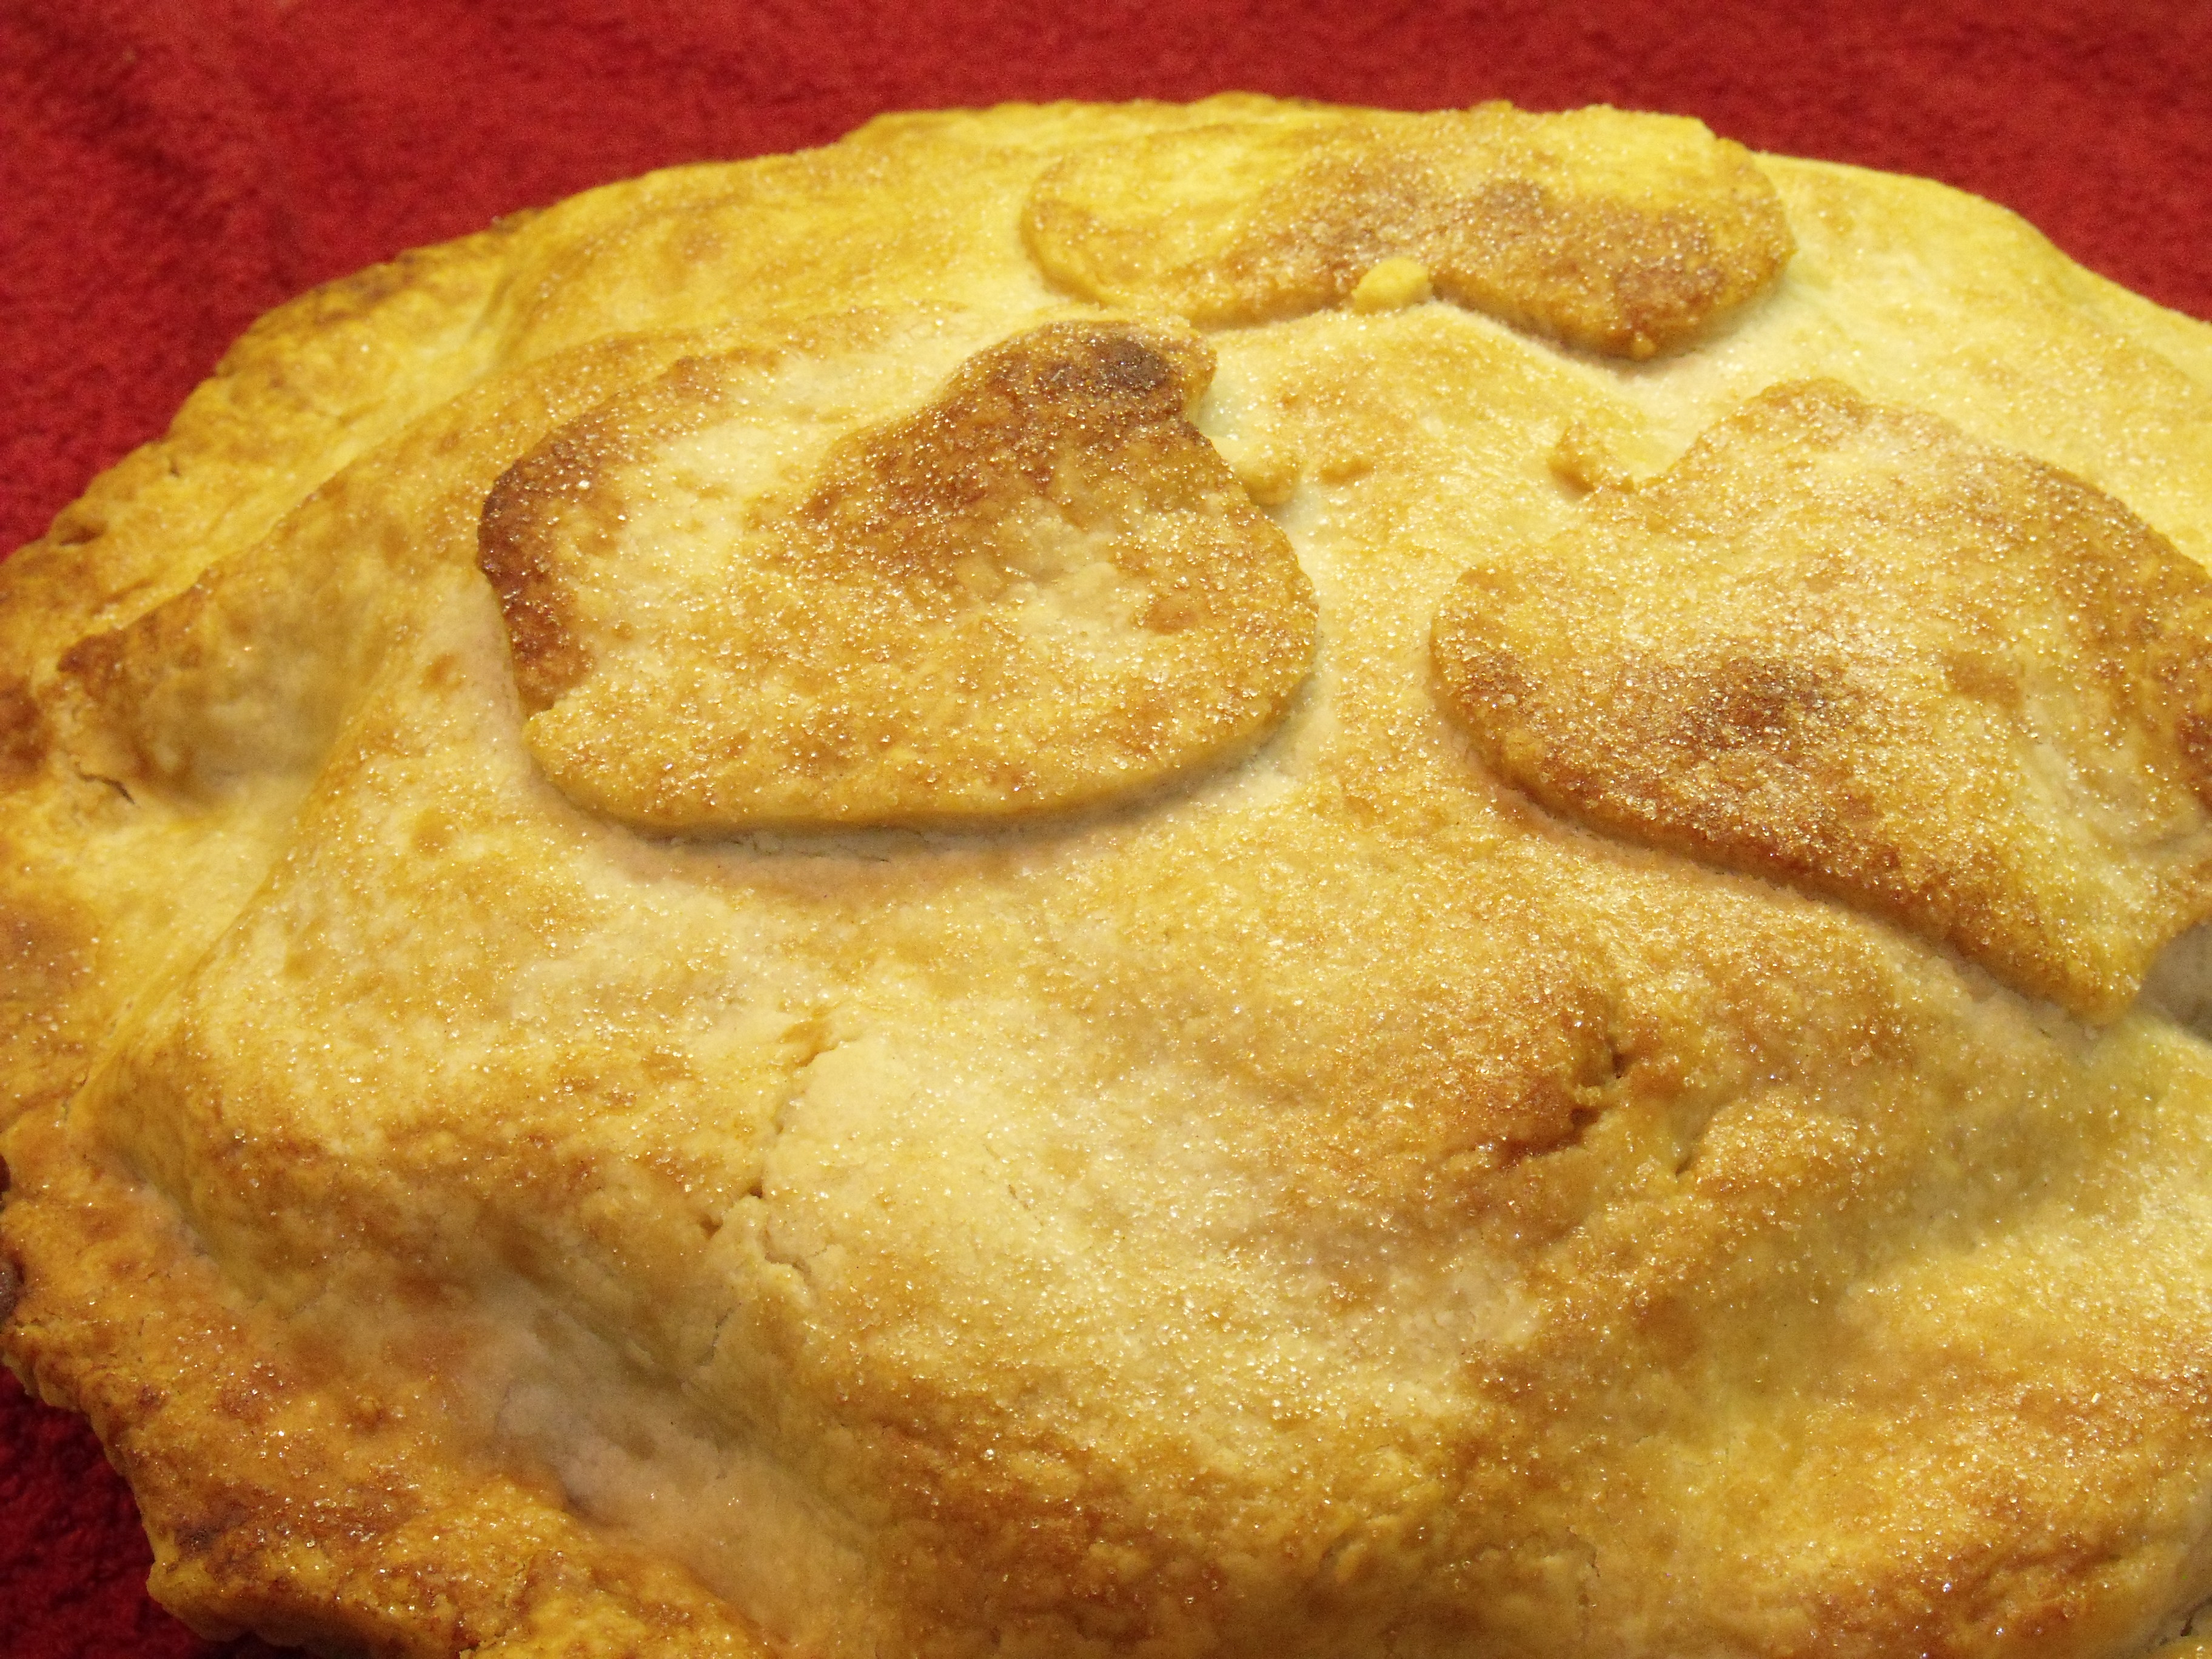
- Top the apple mixture with second crust. Press the two crusts together at the edges and flute, if desired, with your fingers or a fork. Cut a few steam vents into the top crust.
- (At this point you can either refrigerate the pie for up to 24 hours before baking, or bake immediately. If you refrigerate it, let the pie come to room temperature before baking.)
- Bake at 425F for 20 minutes.
- Reduce the oven temperature to 350F and bake for an additional 40-50 minutes, until bubbly. Place an aluminum foil lined baking sheet under the pie to catch any bubble over. (If the edges of the crust look like they are browning too quickly, wrap the edges of the pie in aluminum foil.)
- Remove the pie from the oven and let it cool on a wire rack for 15-30 minutes before serving.
Notes
This is one of the recipes from the early days of Curious Cuisiniere. We've updated our pictures since we first shared it, but we've left some originals here, in case you've found us in the past and are looking for that old, familiar image.

Sarah founded Curious in 2010 as a way to save her recipe creations and share culinary experiences. Her love for cultural cuisines was instilled early by her French Canadian Grandmother. Her experience in the kitchen and in recipe development comes from over 10 years working in professional kitchens. She has traveled extensively and enjoys bringing the flavors of her travels back to create easy-to-make recipes.
I am such a novice at pie making, but I have not seen a pie crust recipe that uses oil, only shortening or butter. Can you describe the taste/texture difference? Nice looking pie!
Thanks! I think using oil makes the crust flakier and gives it a more crisp texture. I actually haven't ever made my own crust with shortening or butter (I've only had ones others have made), but I would imagine the oil would help the crust dough come together easier as well. I have heard that using shortening it is easier to overwork the dough, resulting in a tough crust.
Now you've inspired me to try out the three versions and figure out the differences!
Pop me an email regarding any queries you've got regarding the move! I learnt a lot when I did it. I'm grateful for my gran encouraging me to be in the kitchen with her 🙂
Thanks so much Tandy! If I run up against any specific questions I'll let you know!
I am amazed at how perfectly round you rolled that crust!
Thanks Erin! Another trick I learned from my mom. 🙂 But it's taken me a LONG time to get it right. (And they still only come out right half the time.) It's easier to show that describe, but the basic concept is to make sure you are rolling the dough in every direction. I found making tortillas helped get the technique down; they're small, the dough is easier to work with than pie crust, and there are normally a lot of them. 🙂
One of my favorite desserts and perhaps my favorite pie. Nicely done!
Thanks Richard!
Beautiful pie! And what a lovely tribute to your mom and grandma and their love for cooking and the legacy they've passed on to you. :0)
Thank you Juliet!