
It’s time to start thinking about preserving the flavors of summer!
Whether you are looking to preserve your own harvest, gifts from generous family and neighbors, or just shopping the farmers market for great deals on bulk produce while it is in season, canning is a perfect way to preserve the summer harvest.
Of the three most common ways of preservation (canning, dehydrating, and freezing), canning is great because it doesn’t require freezer space. And, while dried fruits and veggies are great, it’s pretty hard to preserve salsa or jam by dehydrating.
Canning Methods
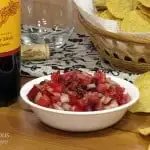
Water Bath: This technique is great for high-acid foods like fruits, juices, jams, salsas, tomatoes, pickles, etc. By filling jars with an acidic food, covering them and boiling them until a seal forms, you are forcing the air out of the food and out of the jar, creating a vacuum in an acidic environment in which bacteria cannot live.
Pressure Canning: This method is recommended for vegetables, meats, poultry and seafood. These foods are considered low-acid, and safety is key. A pressure canner heats the contents of the jar to 240⁰F, ensuring no bacteria is left in your jar.
High-acid foods are the place to start for beginning canners and the water bath method doesn’t require any particularly unique equipment, making it perfect for just starting out.
Water Bath Canning
The Equipment
- Large, deep sauce pot with a lid (The pot should be 4-6 inches taller than the jars you plan to use for canning.)
- A circular rack that fits inside your pot of choice (If you don’t have a rack, we have successfully placed butter knives in the bottom of our pot to elevate the jars.)
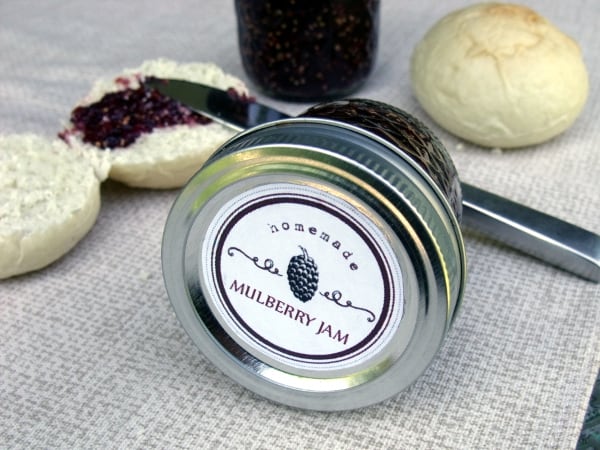
- Glass preserving jars, lids, and bands (Always start with new lids.)
- Wooden spoon, ladle and funnel
- Jar lifter or long metal tongs
- Your produce to be canned. Use only fresh, blemish-free produce.

The Process
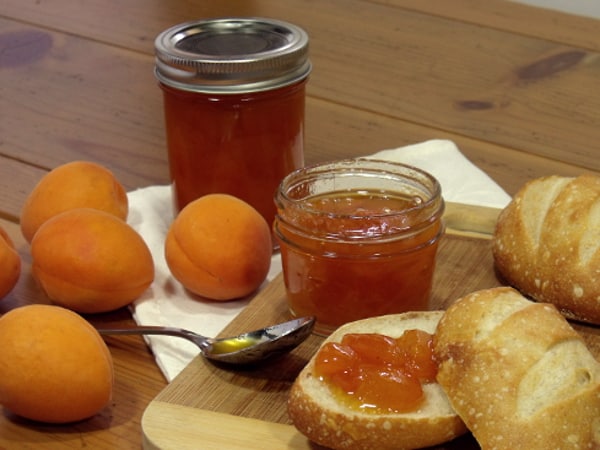
There are two methods for filling jars to be canned: “cold packing” or “hot packing.” The methods are just as they sound. For “cold packing,” cold, raw ingredients are packed into a jar, and a hot liquid is poured over them. This is typically used for processing whole vegetables and pickles. “Hot packing” is when the foods are pre-cooked to boiling and poured, hot, into the jar. This is the method used for jams and some salsas and chutneys.
Wash the jars, lids and bands in hot soapy water. Check the jars for any nicks or cracks while washing them. Place the clean jars in a pot of boiling water and boil for 10 minutes to sanitize them (This can be your water canner or a smaller pot.) You can either keep the jars in the boiling water until you need them, or place them on a cookie sheet in a preheated 250⁰F oven. The important thing is to keep them hot and sanitary until they are sealed.
Prepare the water canner. Fill your pot ¾ full with water. Place a rack inside the pot. (The metal of the bottom of the pot is much hotter than the boiling water. It is important to keep the jars off of the bottom of the pot, so they don’t get too hot and crack.) Cover the pot and bring the water to a simmer.
Then, prepare the preserving recipe using fresh, unblemished fruits and vegetables.
Fill the jars. Remove the hot jars from the oven or boiling water. Fill them, one at a time, leaving the recommended headspace. Headspace is important; too much, and the vacuum won’t form properly, too little, and if your food boils inside the jar, you could have a leaky mess. (Typically, leave 1/4 inch for soft spreads and 1/2 inch for whole produce and salsas.)
Cover the jars. Clean the rim and threads of the jar after filling, using a clean, damp cloth. Center the lid on the jar, making sure the sealing compound is in contact with the jar rim. Screw on the band until it is finger-tight. (Use pot holders. Your jars are hot!) Place the jars in the boiling water using long-handled tongs or a jar lifter. Be sure to have 1-2 inches of water covering the tops of the jars. Place the lid back on the pot.
Process the jars in the boiling water for the time indicated in the preserving recipe. Your processing time begins when the water returns to a boil.
Remove the jars from the canner and set upright on a towel or cooling rack. (Do not set them directly on the counter, as the difference in temperature could cause the jars to crack.) Leave the jars undisturbed for 12 – 24 hours. (As the jars cool, you will hear the wonderful melody of seals popping!)
Check the jar lids for a seal. The lids should not flex when pushed in the center. Remove the bands and try to lift the lid off with your fingers. (If the jar has not sealed within 24 hours, you can reprocess the jar immediately or refrigerate the contents.) Clean the jars and lids, and return the bands to the jars.
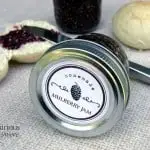
Label and store your creation in a cool, dry place. Jars processed with the water bath method are good for 2-3 years. Be sure to check your jars periodically to ensure the seals are still holding and the contents look the same as they did the day you canned them.
There you have it!
Summer produce all ready to be enjoyed throughout the winter!
For additional resources check out the USDA safe canning guide from the National Center for Home Food Preservation.
If you liked this recipe, here are some similar dishes you may enjoy!


Sarah is one of Curious Cuisiniere’s founding duo. Her love for cultural cuisines was instilled early by her French Canadian Grandmother. Her experience in the kitchen and in recipe development comes from years working in professional kitchens. She has traveled extensively and enjoys bringing the flavors of her travels back to create easy-to-make recipes.